
Migrate from Lovable Cloud to Supabase
Migrate Lovable Cloud to your own Supabase without making a single user reset their password.
Lovable's official export path makes every real user reset their password (their docs: "you cannot export user passwords, so you need to trigger a password reset flow") — for any app with paying customers, that's a non-starter. Staticbot migrates auth users with password hashes intact, re-links OAuth identities (Google, GitHub, Apple…) so no one has to re-authorise, and migrates Edge Functions, vault secrets, and cron jobs alongside the database, storage, and RLS policies. The source Supabase service-role key never leaves your Lovable project — the export runs in-place via a temporary edge function that reads it from Supabase's built-in env vars. ~15 minutes, end to end.
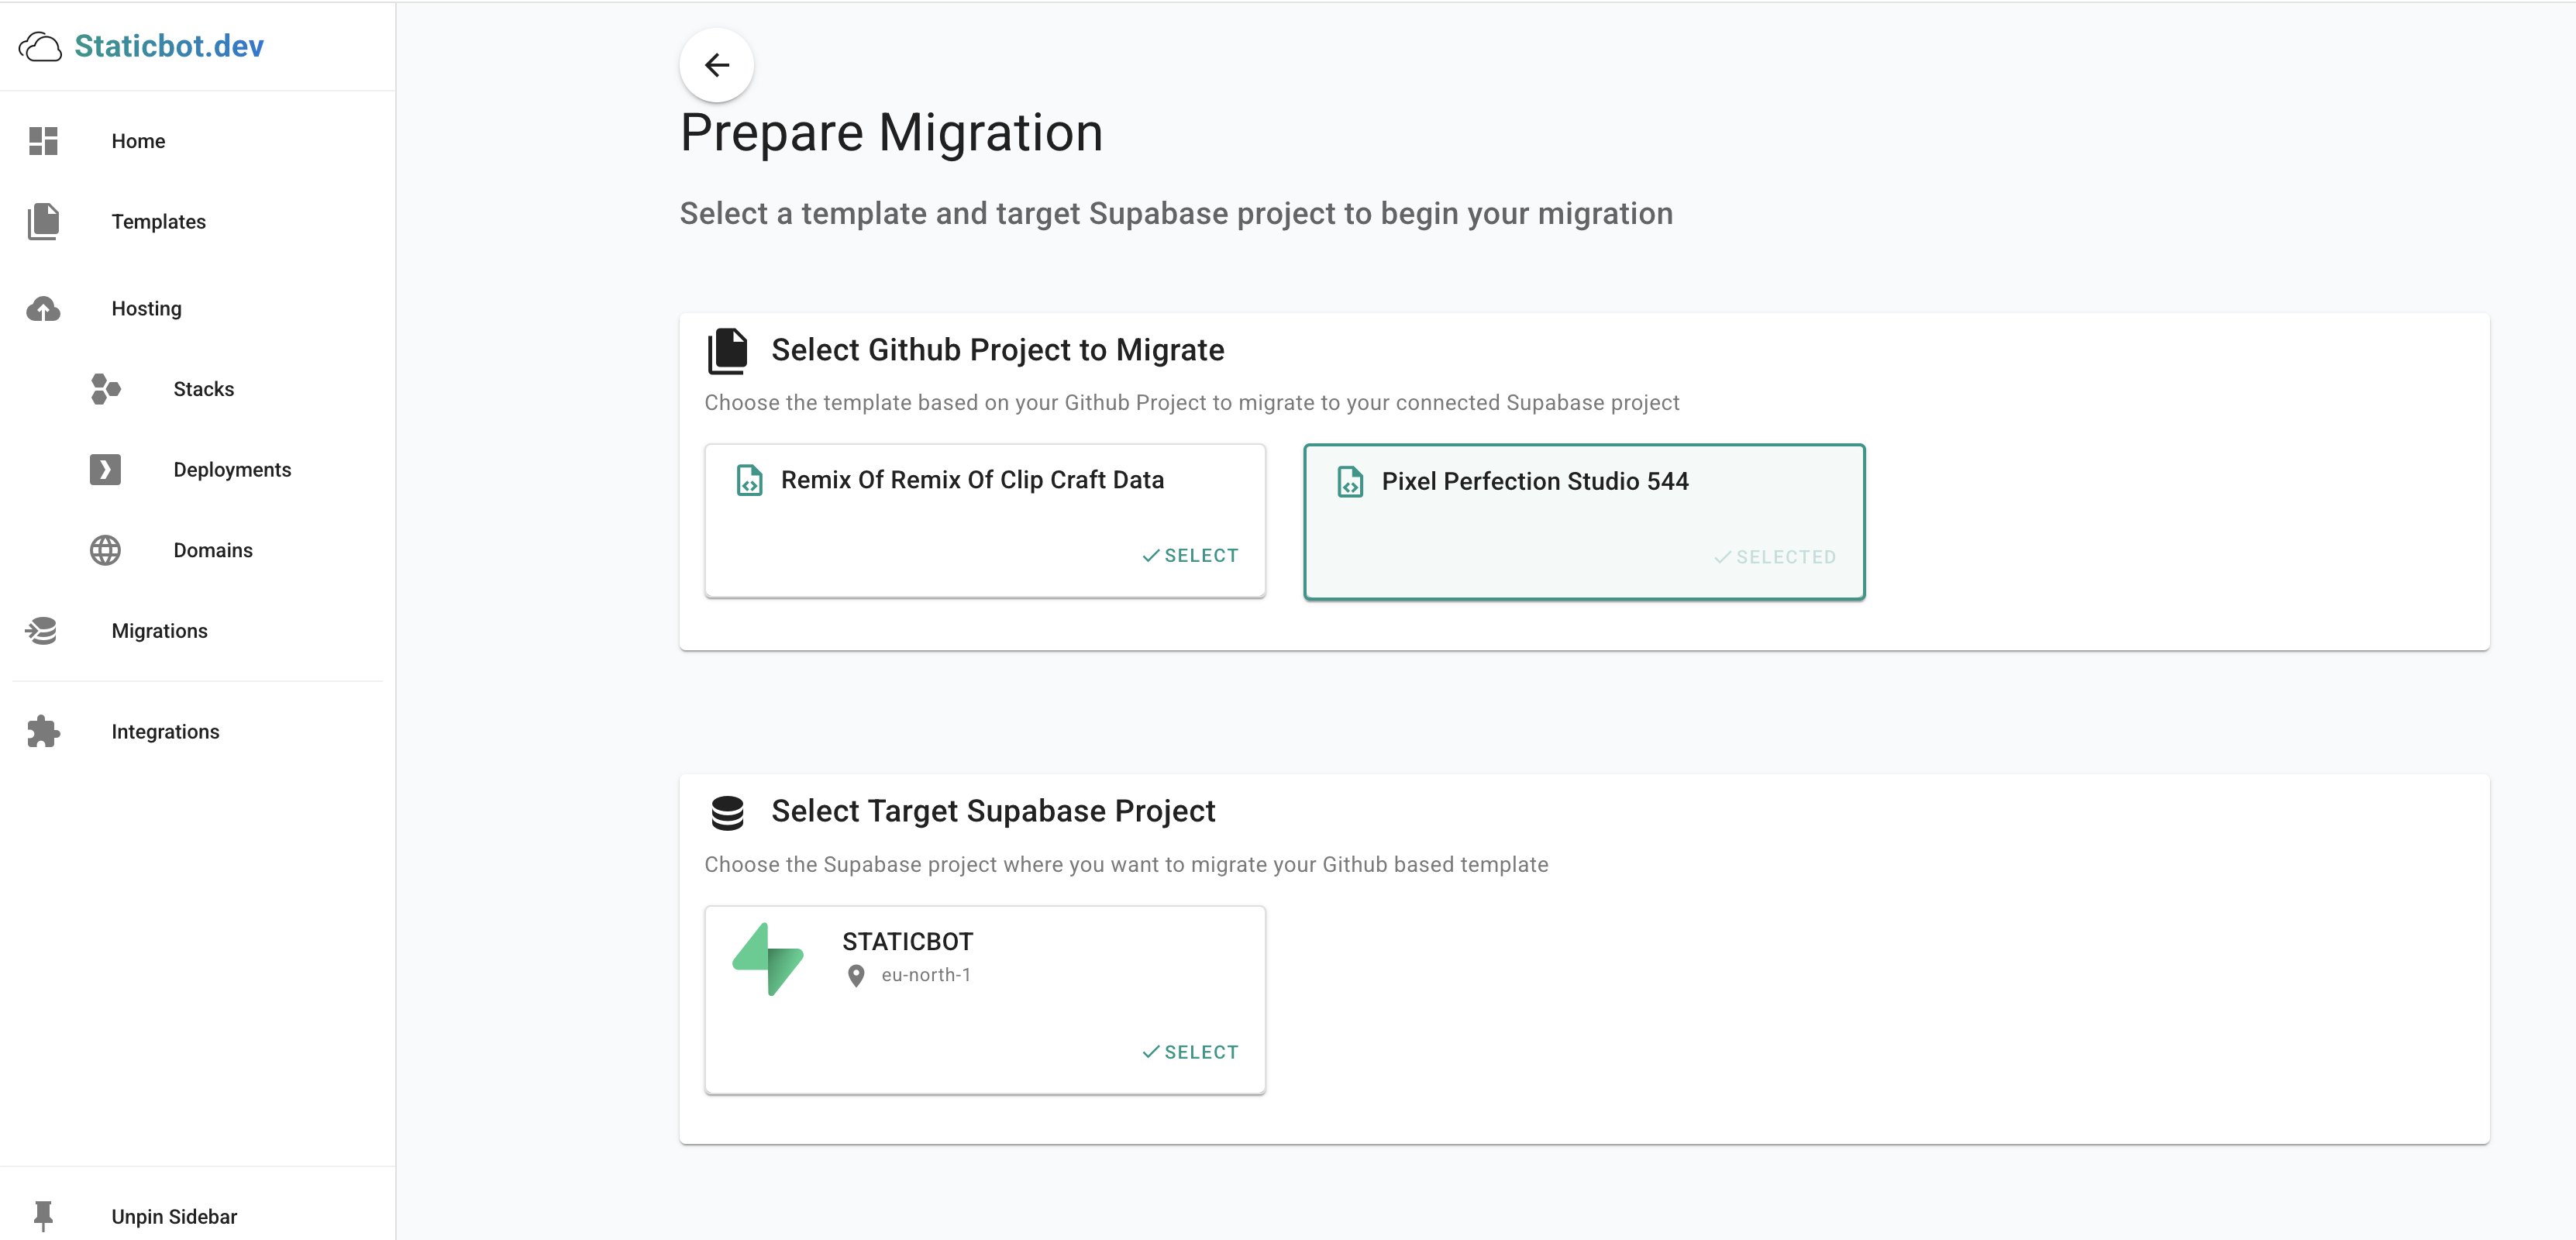
Point Staticbot at your Lovable GitHub repo and a target Supabase project, then host the frontend on your own AWS or Cloudflare (or on Staticbot-managed AWS). Optionally keep editing in Lovable afterward — Continuous Sync flows every push to your own production backend. Or follow the 8-step CLI guide below to do it yourself.
Comparing tools? See Staticbot vs Dreamlit. Pricing: Lovable · Supabase · Staticbot
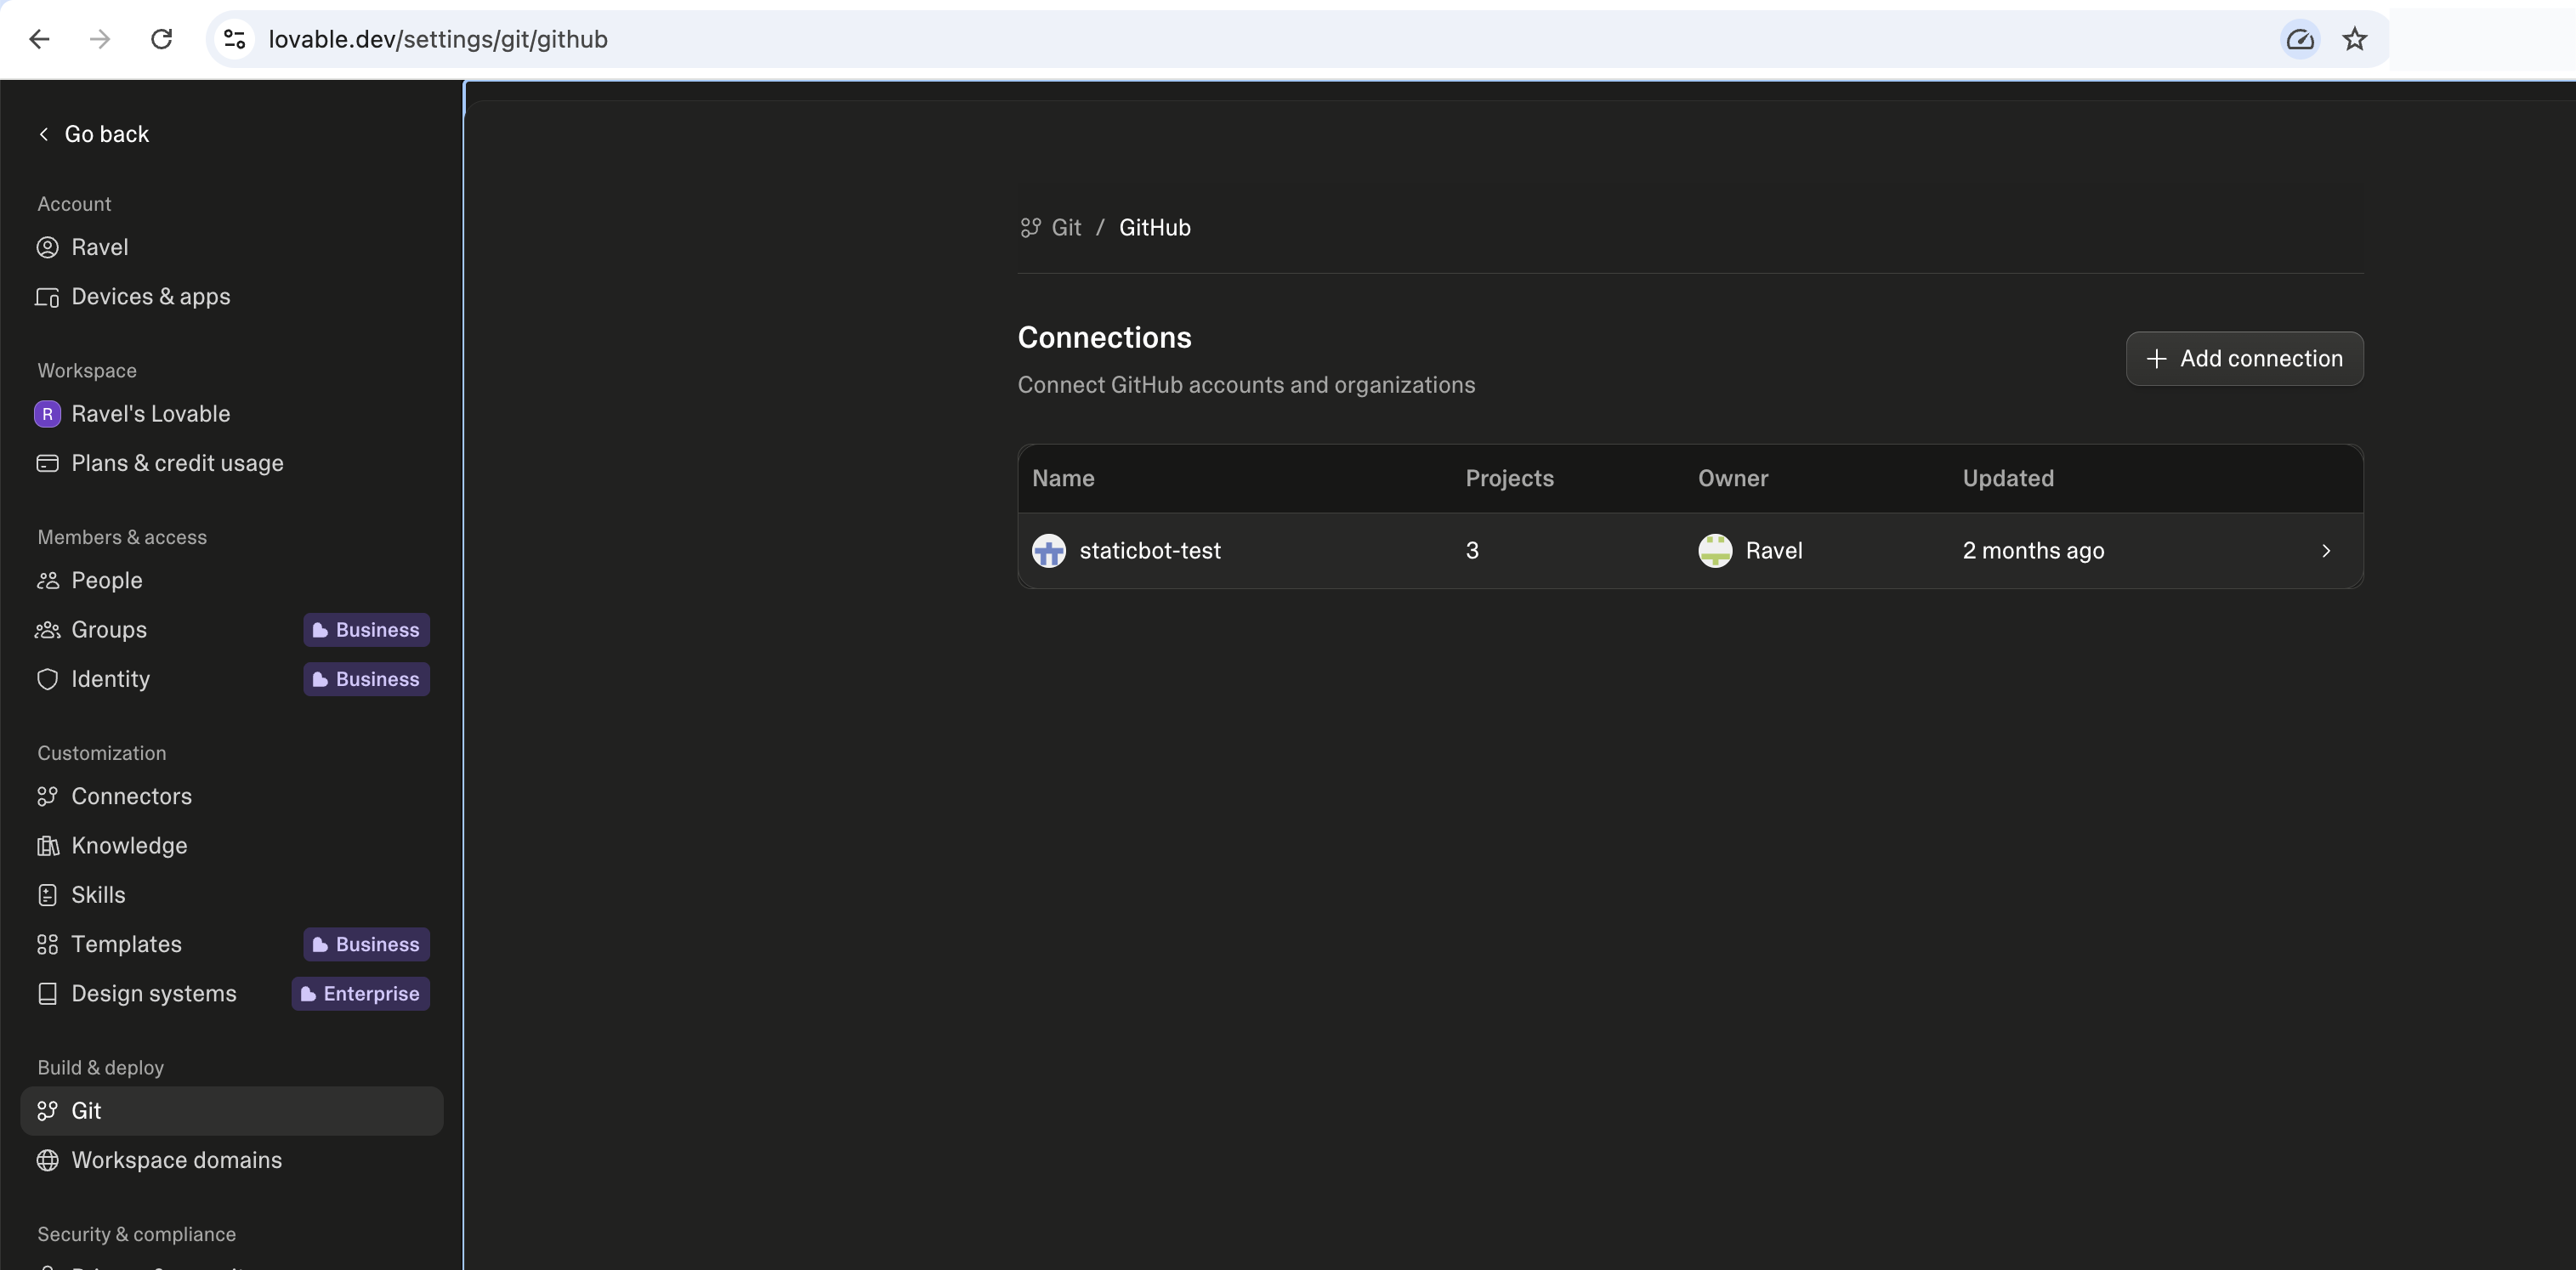
Prerequisite: connect your Lovable project to GitHub
Staticbot reads your project via GitHub, so your Lovable project must be synced to a GitHub repository before you start a migration. Connect and authorize GitHub at lovable.dev/settings/git/github, then open your project and link it to a repository.
How do I migrate a Lovable app to Supabase?
Manual Migration
Follow 8 CLI steps to migrate your Supabase backend yourself. Full control, requires developer time.
Automated with Staticbot
RecommendedStaticbot handles the complex technical steps automatically. Schema, edge functions, storage, and auth — all in a guided dashboard.
Prefer to migrate from your terminal?
Use the Staticbot MCP server with Claude Code, Cursor, or any MCP-compatible AI agent. One prompt kicks off the entire migration.
Learn how to migrate via chatAutomate the hard parts of your migration
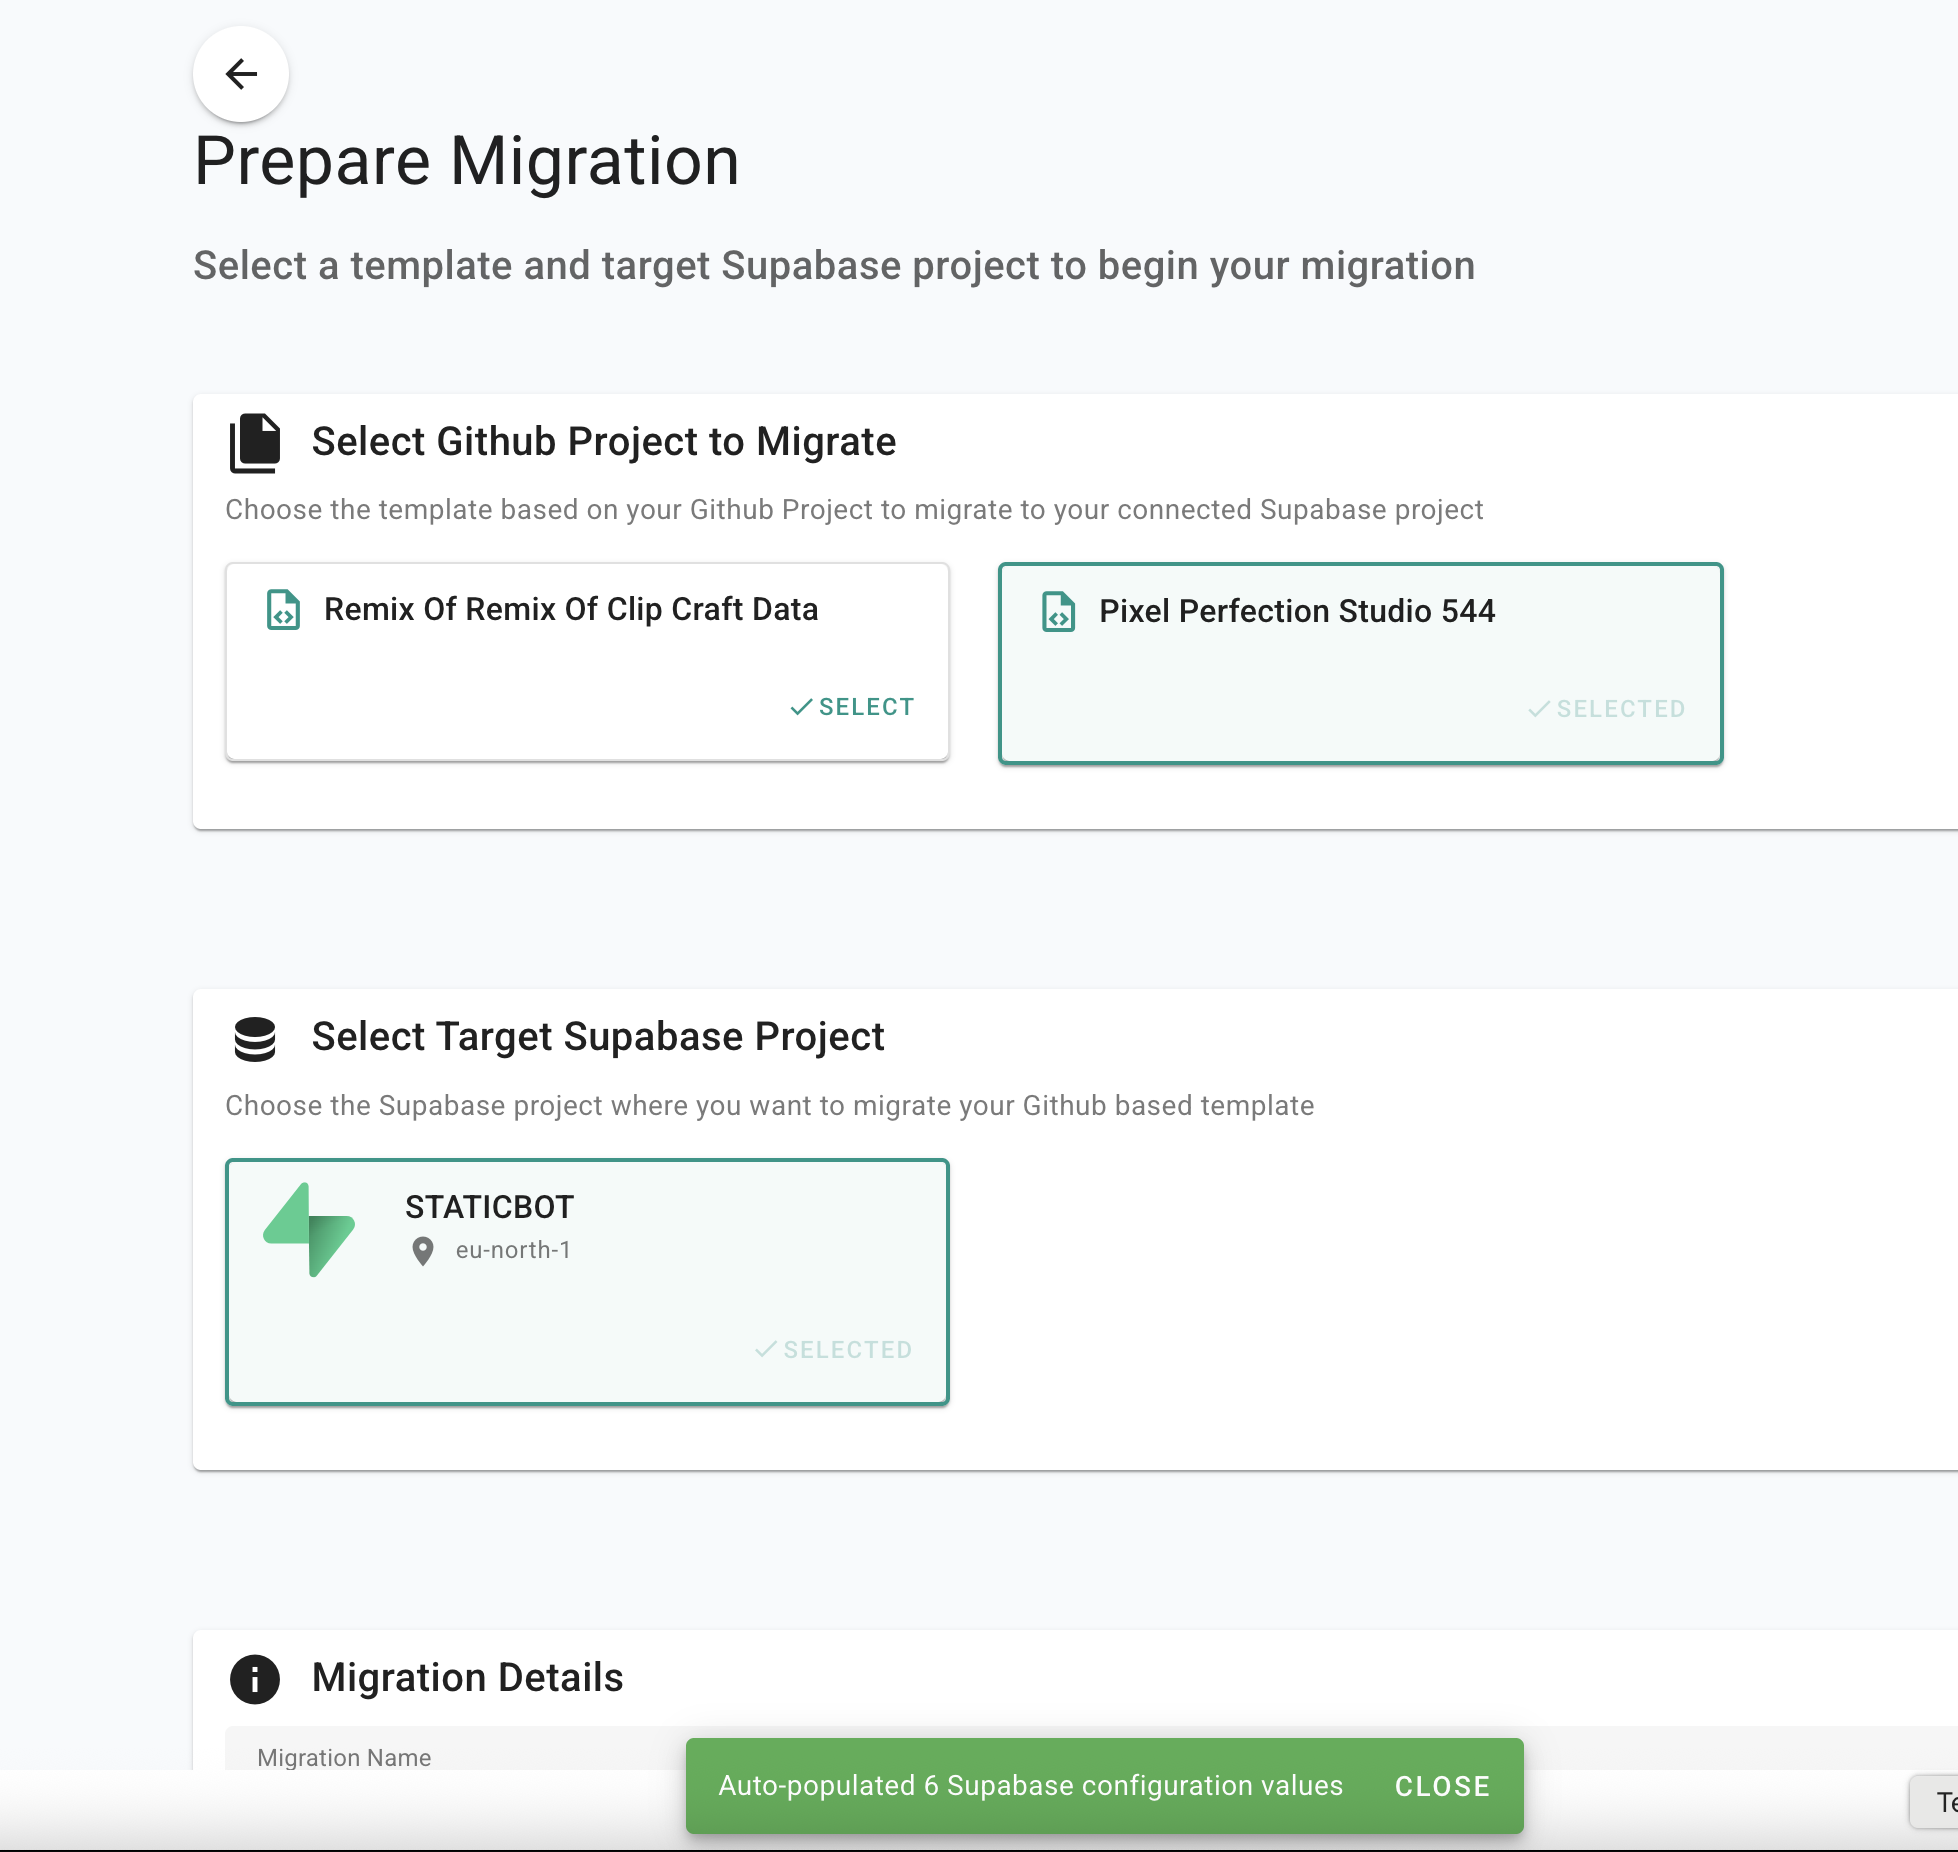
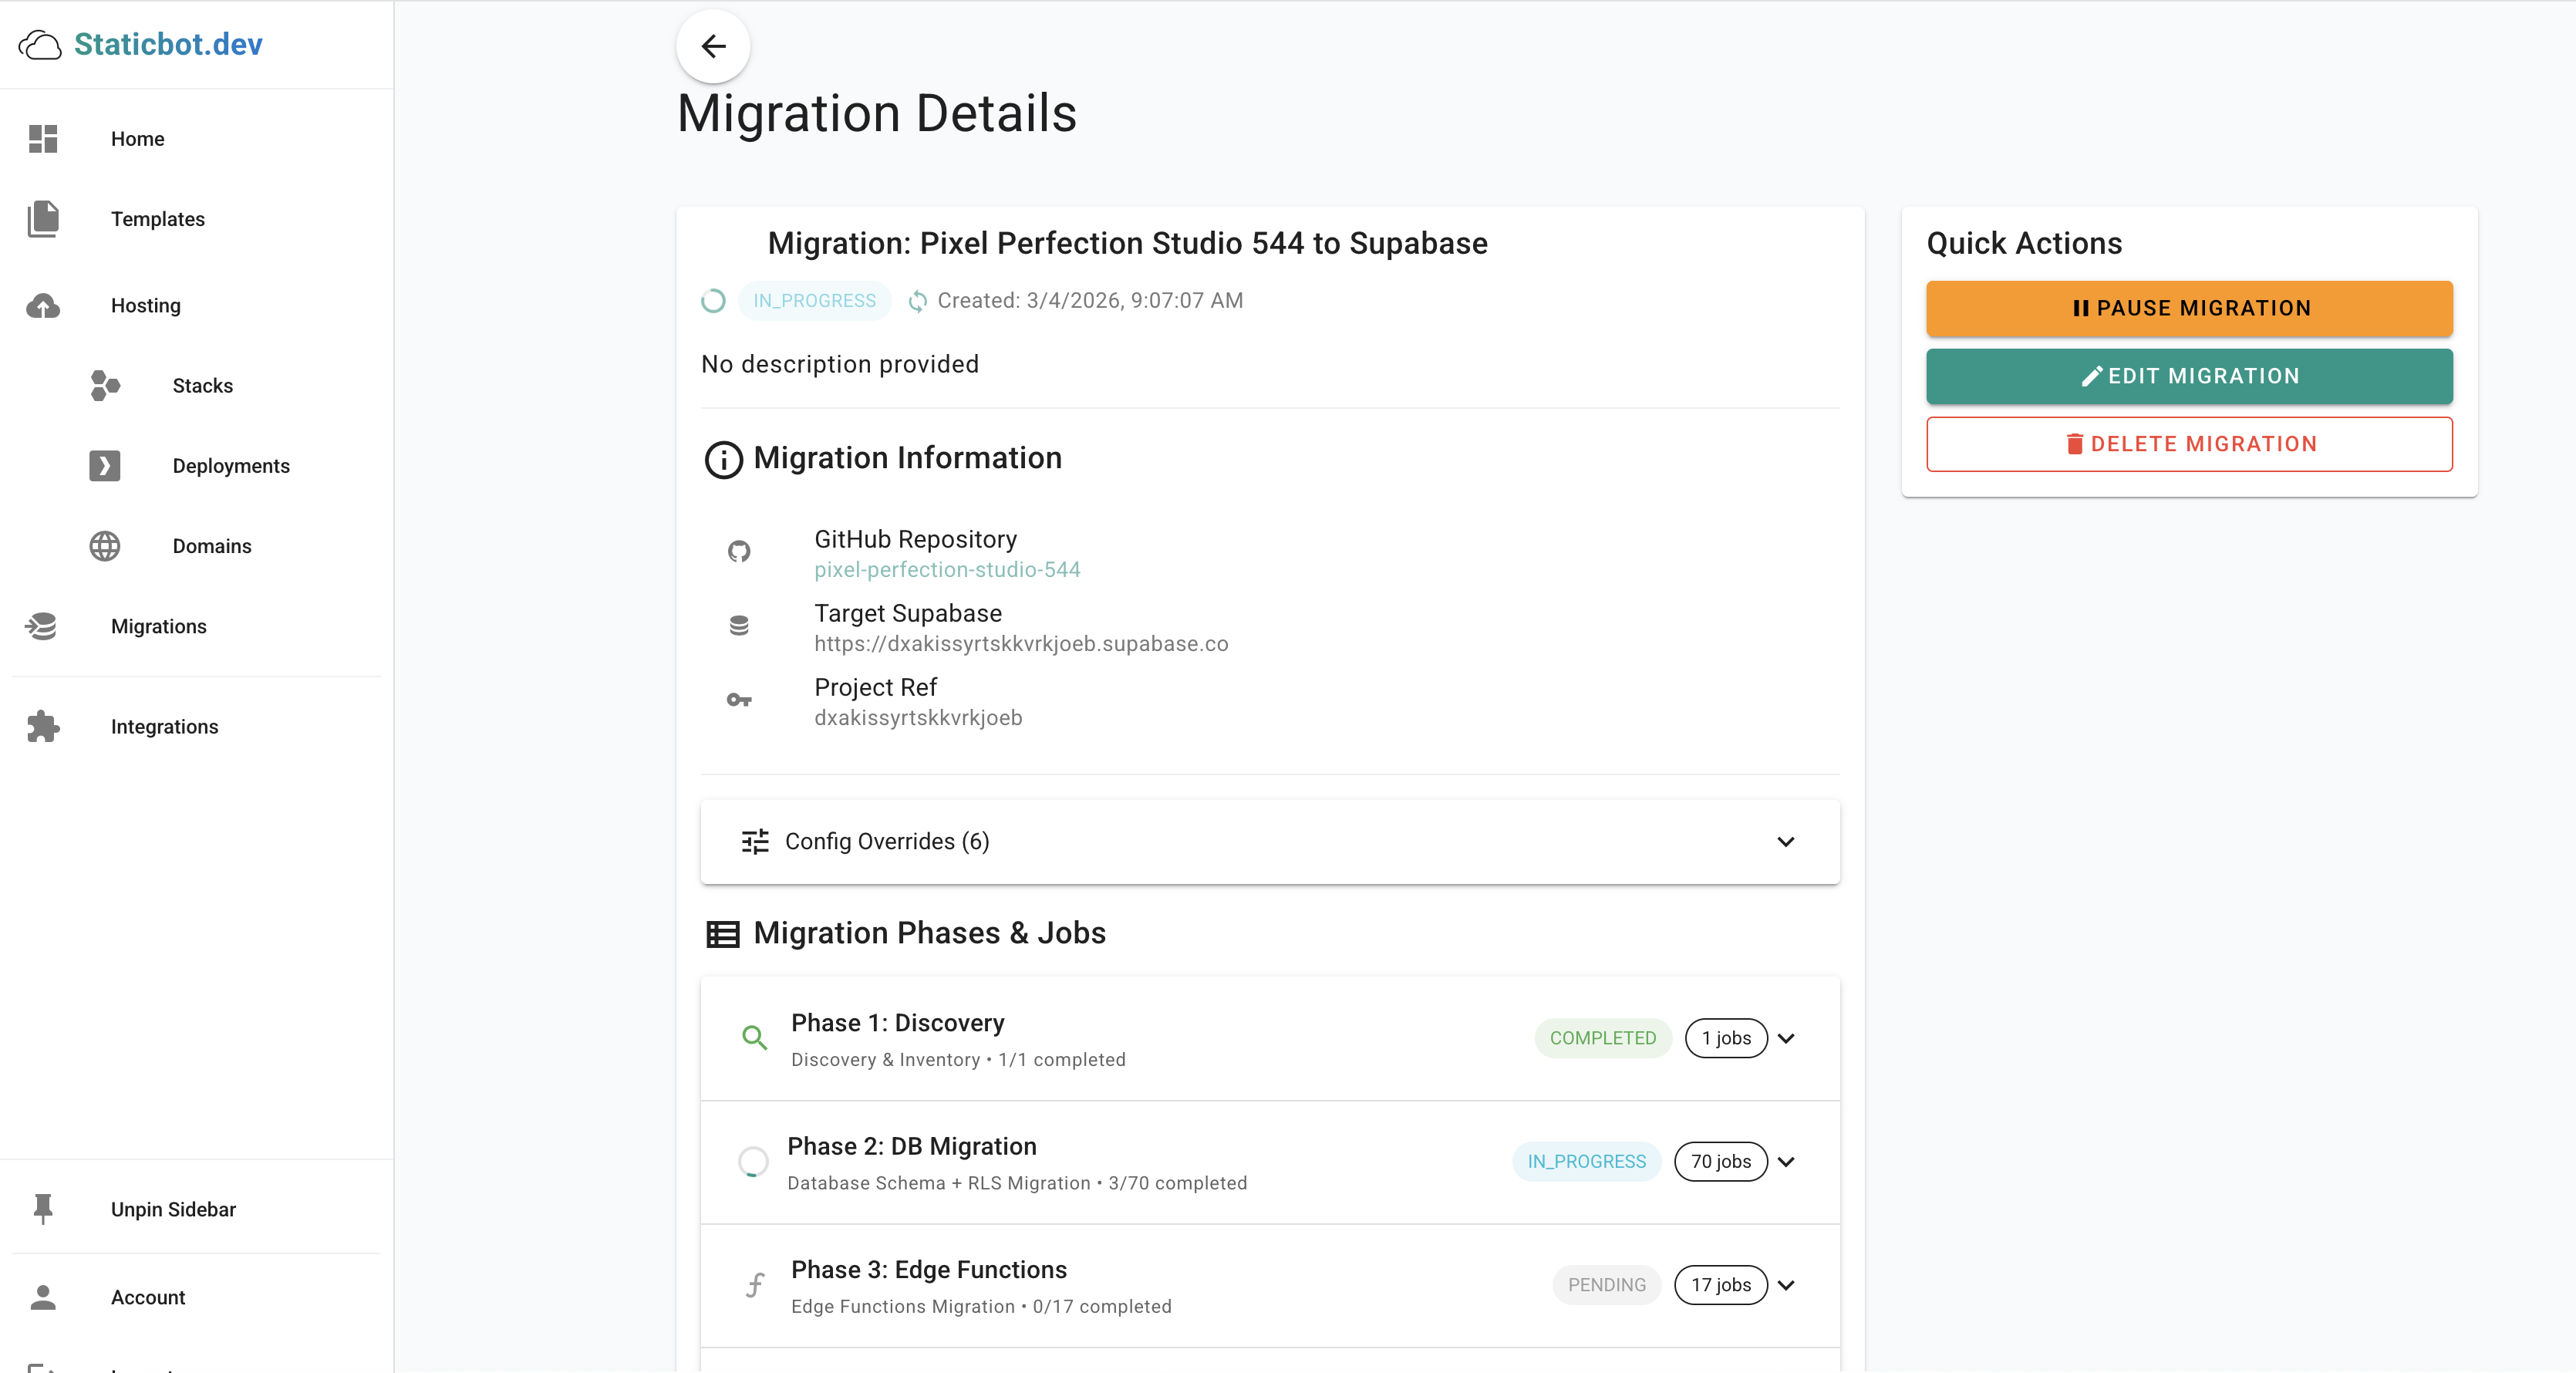
Instead of running CLI commands manually, Staticbot's Migration tool connects to your source Supabase project, discovers what needs to move, then executes each phase automatically — with full visibility into what's happening at every step.
Automatically inventories your source Supabase project
Applies your SQL migrations to the target instance
Deploys all server-side functions automatically
Recreates your storage bucket configuration
Migrates authentication settings and policies
Exports and imports your data between projects automatically
AI diagnoses failed jobs and suggests fixes you can apply in one click
Real-time status for every step of the migration
AI Troubleshooting
NewWhen a migration job fails, click the AI button to get an instant diagnosis. The AI analyzes the error, reads your migration files, and suggests a concrete fix — often a corrected SQL statement you can apply with one click.
- Analyzes error context and migration files
- Suggests corrected SQL you can review
- One-click apply and automatic retry
Automated Data Migration
NewNo more manual CSV exports and imports. Staticbot can automatically export data from your source Lovable project and import it into the target Supabase project — handling table dependencies and foreign key ordering for you.
- Automatic export from source project
- Dependency-aware import ordering
- No manual CSV handling required
"Staticbot completely automated my Lovable-to-Supabase migration, which had previously seemed like an overwhelming project. The automation performed flawlessly and saved me hours of work and a lot of stress, so I'm grateful to have this tool available for future projects."
-- Seth
Manual migration
How to migrate from Lovable to Supabase manually (8 steps)
Prerequisites
- New Supabase project created
- Supabase CLI installed and authenticated
- Git repository set up
1Update Local Configuration
Update your local environment to point to your new Supabase project.
Update .env
Replace your existing credentials with the new ones:
- VITE_SUPABASE_PROJECT_ID
- VITE_SUPABASE_PUBLISHABLE_KEY
- VITE_SUPABASE_URL
Update supabase/config.toml
Update the project_id field with your new project's ID.
Link Supabase CLI
2Deploy Database Schema
Push your existing database migrations to the new instance.
Verify that all migrations have been applied successfully.
3Deploy Edge Functions
Deploy all your server-side logic.
If needed, remove any functions from config.toml that are no longer required, and verify that all deployed functions are active in your dashboard.
4Configure Supabase Secrets
Set up encryption and API keys via the Supabase dashboard or CLI.
Critical: ENCRYPTION_SECRET
Must be a 64-character hex string (not base64). Use this command to generate the correct format:
openssl rand -hex 325Migrate Data (with passwords intact)
Don't use CSV exports for this
Exporting tables as CSV from Lovable Supabase → Table Editor strips bcrypt password hashes from auth.users.encrypted_password, which forces every one of your users to reset their password. Use pg_dump instead — it preserves the hashes verbatim and gets foreign-key ordering right.
Dump source data with pg_dump
In Lovable, open Supabase → Project Settings → Database and copy the connection string. Then:
--schema=auth --schema=public --schema=storage \
"$SOURCE_DATABASE_URL" > data.sql
This dumps auth.users (including encrypted_password), auth.identities (OAuth links), all your public-schema rows, and storage metadata — in the right dependency order. For the broader question of which auth tables to migrate and which to deliberately skip (auth.schema_migrations, auth.flow_state, etc.), see our Supabase auth migration scope guide.
Restore to your new Supabase
Grab the target's connection string from Supabase → Project Settings → Database and apply the dump:
Storage object files (the actual bytes in buckets) aren't in the database dump — copy them separately with the Supabase CLI or rclone against the S3-compatible storage endpoint. Existing users sign in with their existing passwords.
6Reconfigure OAuth Providers
Google/GitHub/Apple OAuth client IDs and secrets live in Supabase's auth control plane, not in the database — pg_dump doesn't carry them. In your new project's dashboard go to Authentication → Providers and re-enter each provider's client ID, secret, and redirect URL. The matching auth.identities rows are already restored from Step 5, so once providers are configured, OAuth users continue signing in without re-authorising. (More on why this gap exists and how to test for it before cutover in our auth migration scope guide.)
7Remove Lovable AI Dependencies
If applicable, update your code to remove references to the Lovable AI Gateway. Replace any Lovable AI calls with direct provider APIs and redeploy any affected edge functions.
8Finalize & Deploy
Clear Cache
npm run dev
Hard refresh your browser and verify network requests are hitting the new Supabase instance.
Commit & Push
git commit -m "feat: Migrate to Supabase"
git push origin main
Lovable will automatically sync environment variables from GitHub. Verify the production environment update.
Post-Manual Migration Checklist
Ready to Deploy the Frontend?
Now that your app is on your own Supabase backend, host the frontend on AWS with zero configuration using Staticbot.
View Lovable Deployment GuidePrefer the automated path?
Let Staticbot handle the migration for you
Staticbot handles the technical heavy lifting automatically. Connect your Supabase projects, confirm each phase in a dashboard, and you're done — no CLI required.
~15
minutes
2–3 hrs
manual
What gets automated
Lovable Migration FAQ
Related
- Deploy Lovable to Vercel — keep Lovable as editor, host the frontend on Vercel instead of AWS
- Lovable hosting — three setups compared
- Self-hosted Supabase on AWS — for fully owning the backend infrastructure
- Lovable vs Bolt vs Supabase vs Vercel — real hosting costs in 2026