
Deploy from Lovable with Staticbot
This guide will show you how to host your project built with Lovable on AWS S3 and Cloudfront using Staticbot.
Project created on Lovable after May 13, 2026?
New Lovable projects ship as TanStack Start SSR — your repo has a wrangler.jsonc and a .output/server/index.mjs build. Those don't run on plain S3 + CloudFront. Staticbot deploys them to Cloudflare Workers instead, in a Staticbot-managed CF account (your domain, your Supabase, our edge). Bring-your-own Cloudflare account support is coming next.
Using a database, edge functions, or auth?
Staticbot deploys your frontend (HTML, CSS, JS) to AWS. If your project relies on backend features powered by Lovable Cloud's Supabase — such as a database, edge functions, or authentication — those won't transfer automatically. Migrate your backend to your own Supabase project first, then come back here to deploy the frontend.
Migrate your Supabase backend first1Push to Git Repository
To deploy with Staticbot, you need to get the code into a Git repository.
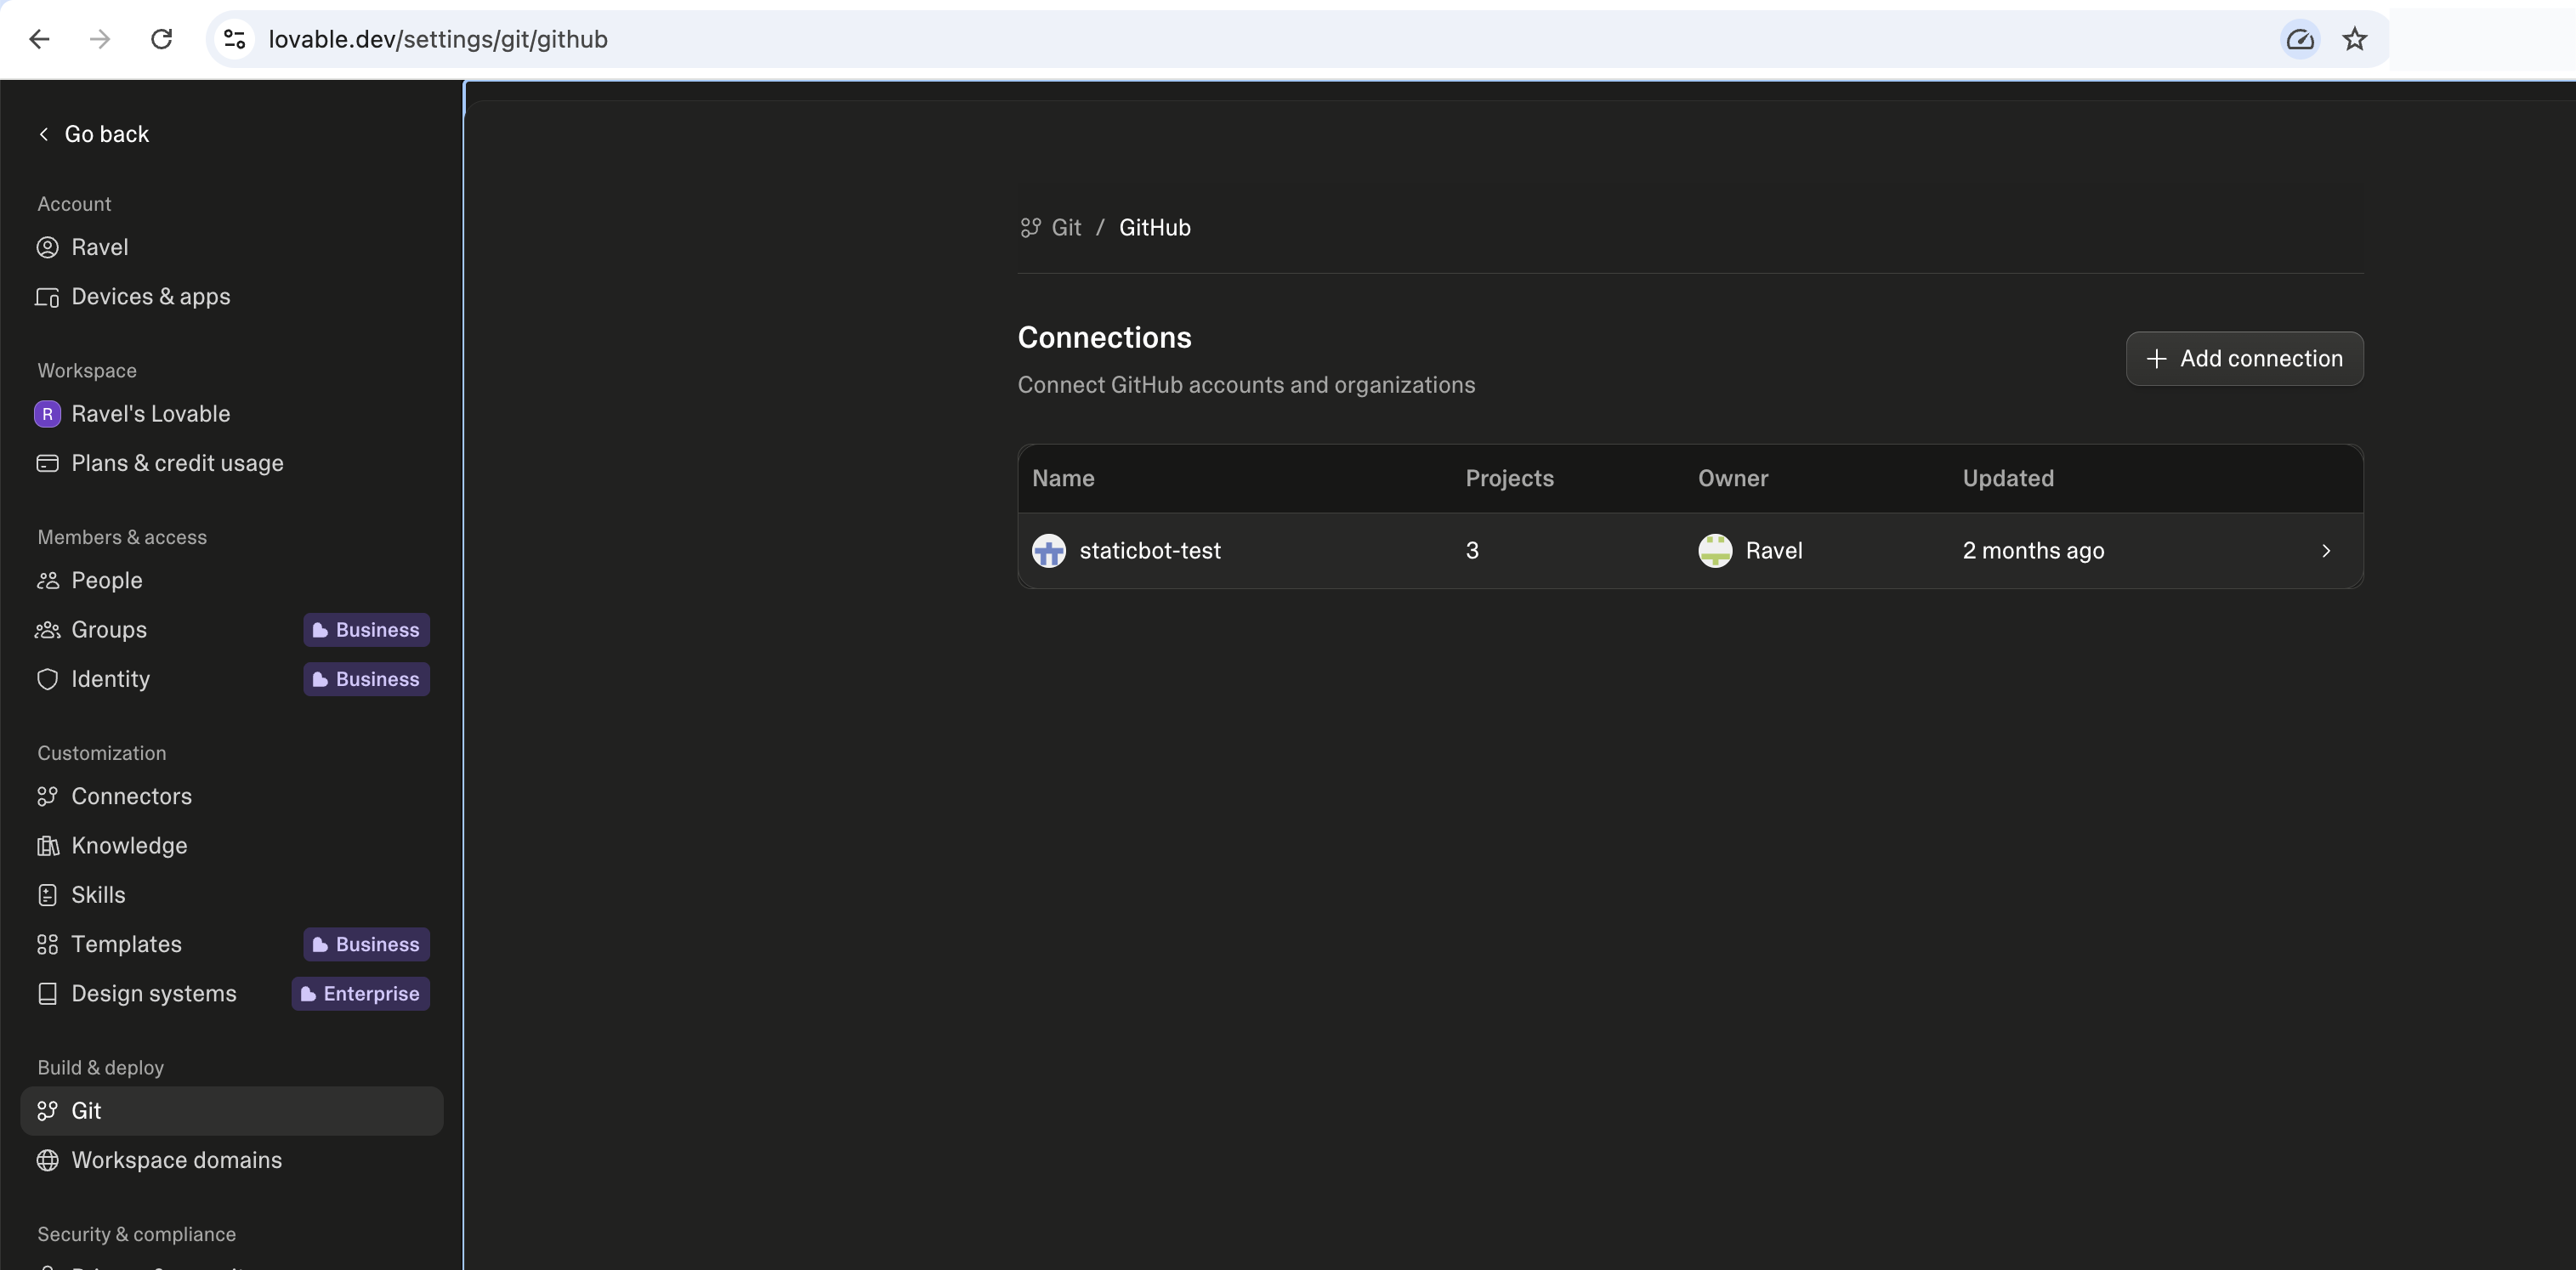
Export to GitHub
Connect GitHub at lovable.dev/settings/git/github, then open your project and link it to a repository. Three stages:
- Link your GitHub account (OAuth authorization)
- Install the Lovable GitHub App on an account or organization
- Connect individual projects to repositories
2Deploy with Staticbot
With your project on GitHub, you can now use Staticbot to set up automated deployment.
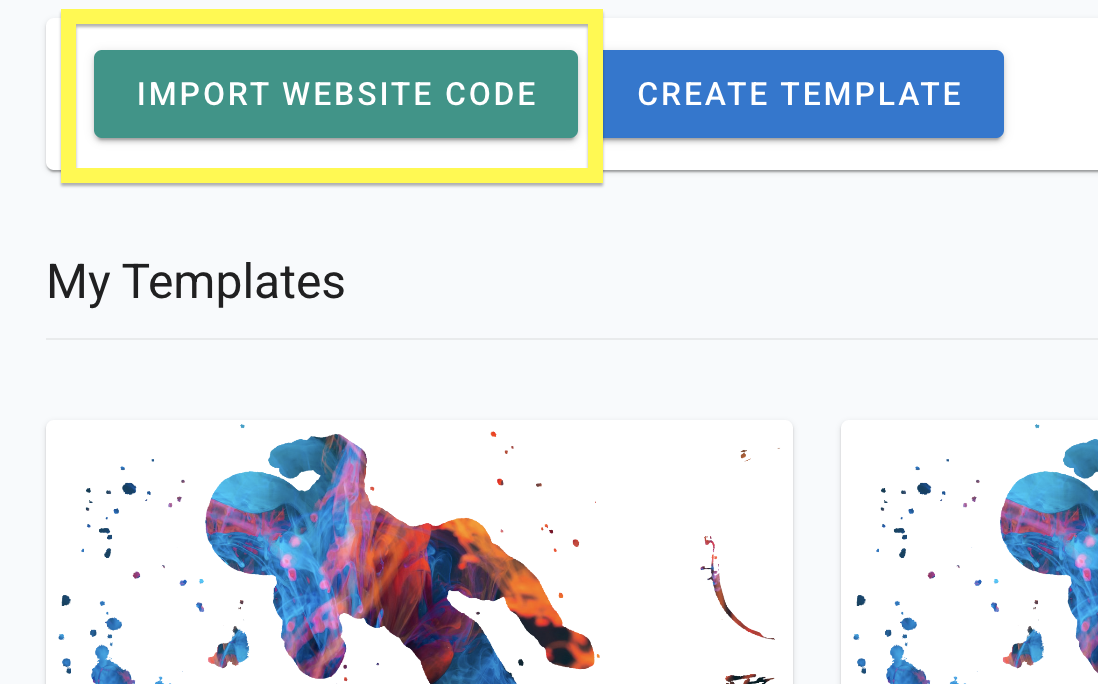
Import Your Project's Code
Paste your GitHub repo link. This will create a Template with your codebase.
Migrate your backend to Supabase
If your Lovable app uses Lovable Cloud for a database, edge functions, or auth, move those into your own Supabase project before you launch — otherwise your deployed frontend won't have a backend to talk to.
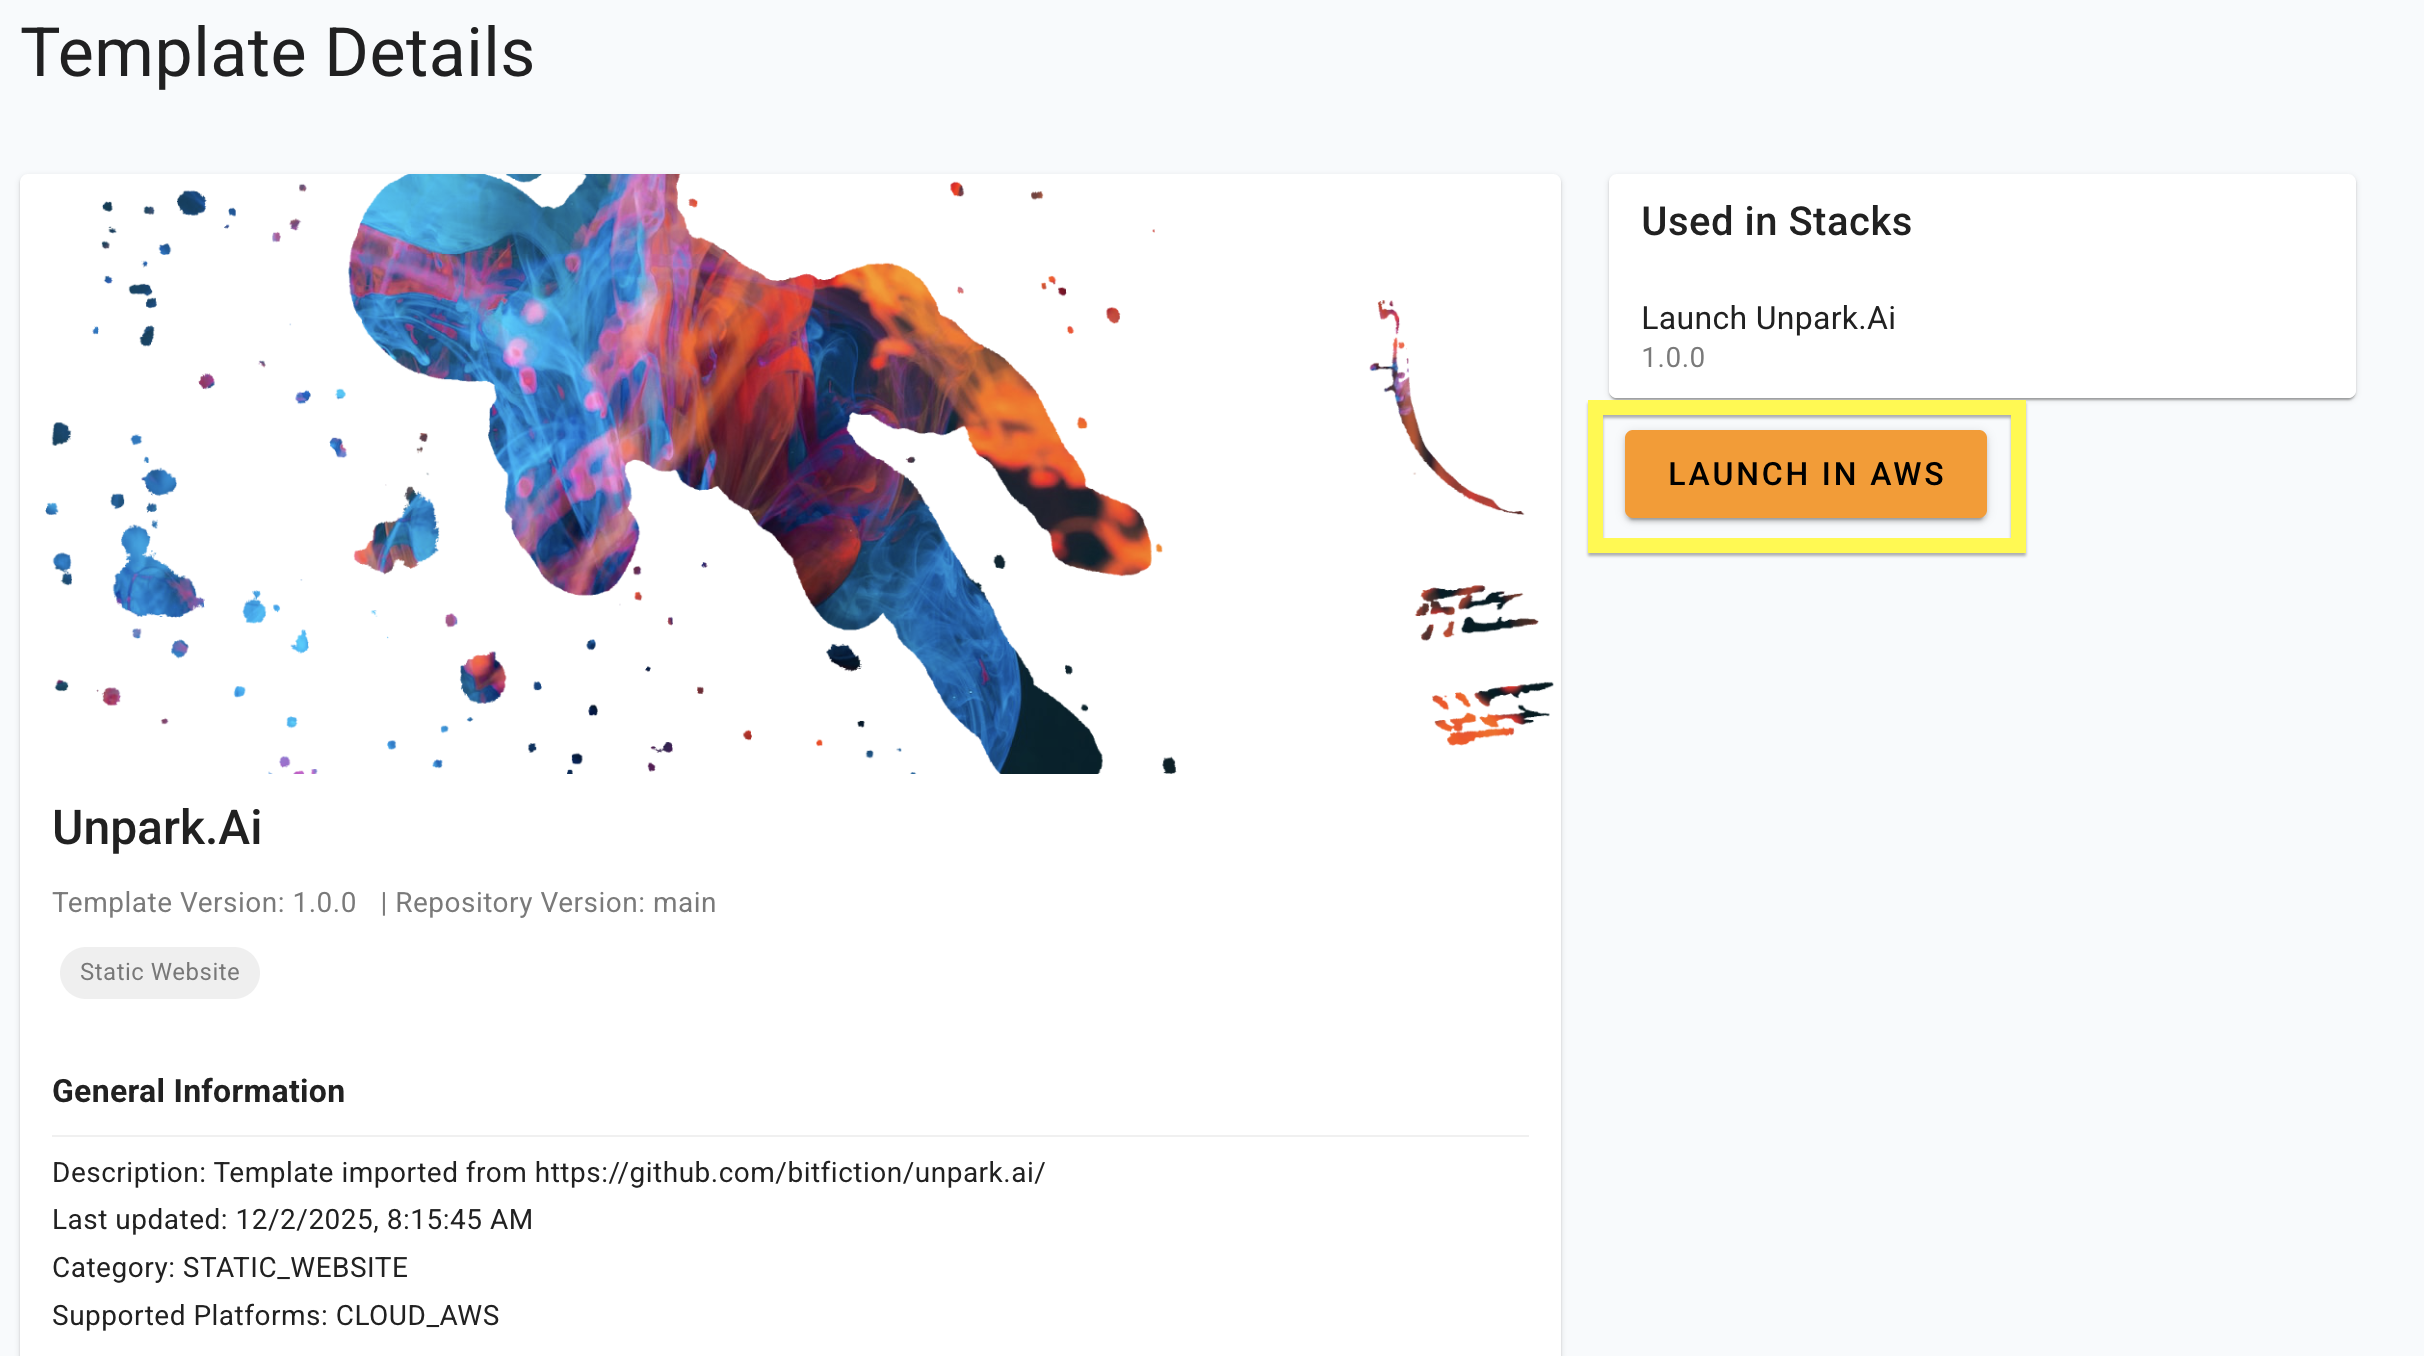
Launch — AWS or Cloudflare, depending on your project
Staticbot auto-detects what kind of project you have and shows the right launch button:
Classic Vite + React, plain HTML, or any pre-built static bundle. Deploys to AWS S3 + CloudFront — your AWS account or Staticbot-managed.
TanStack Start (Lovable's new default), Nuxt 3, SolidStart, Astro with the CF adapter, or any app that builds for Cloudflare Workers. Deploys to a Staticbot-managed Cloudflare account. read more
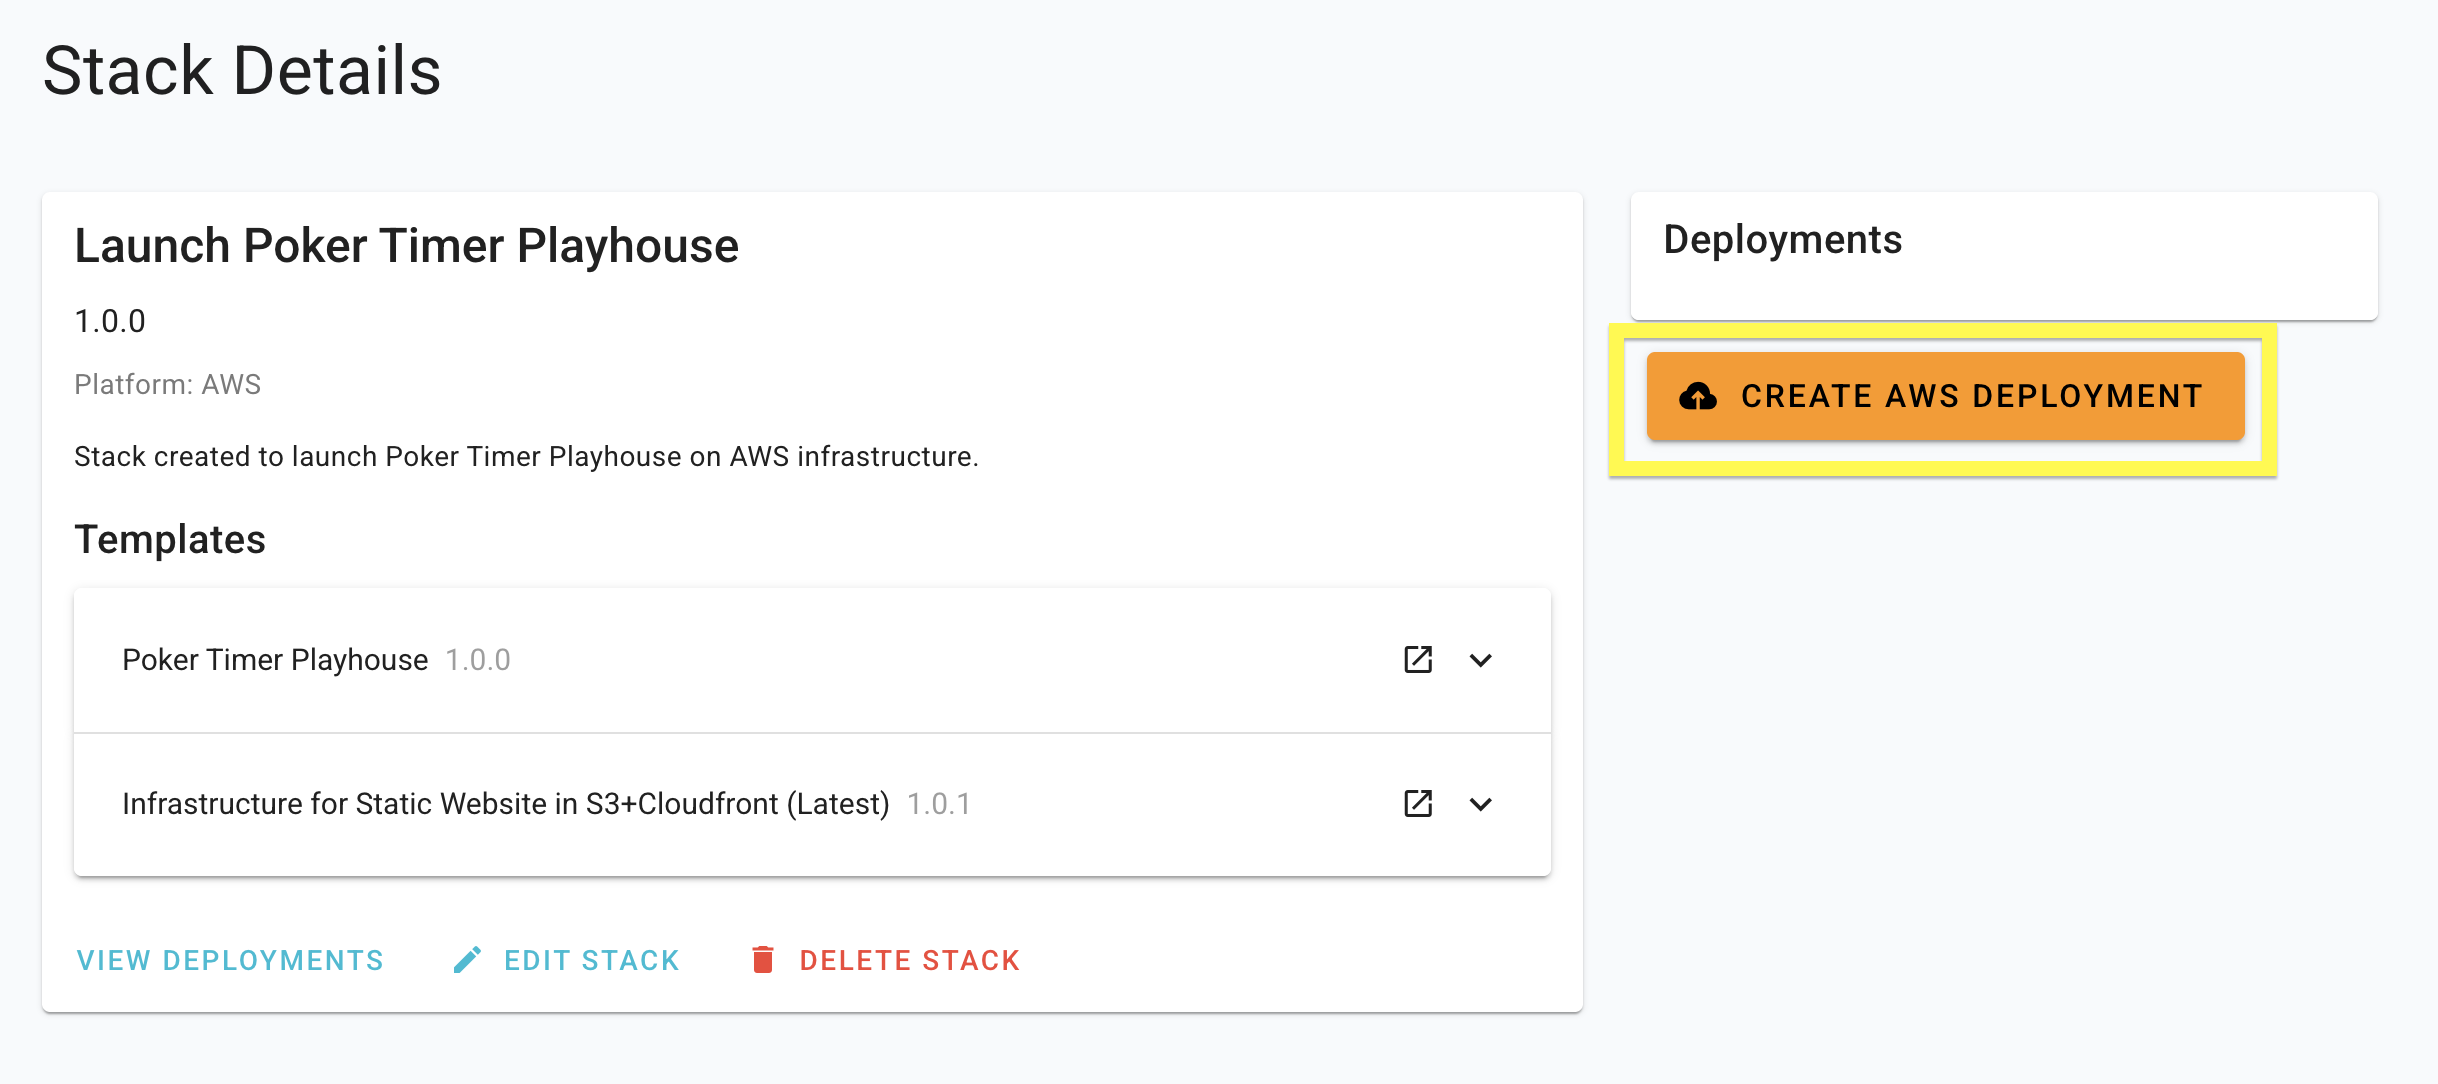
The screenshot below shows the older "Launch in AWS" button. The dashboard now picks the right target for you — newer screenshots coming.
Enter the Domain
Staticbot will provide instructions to point the domain to your website.
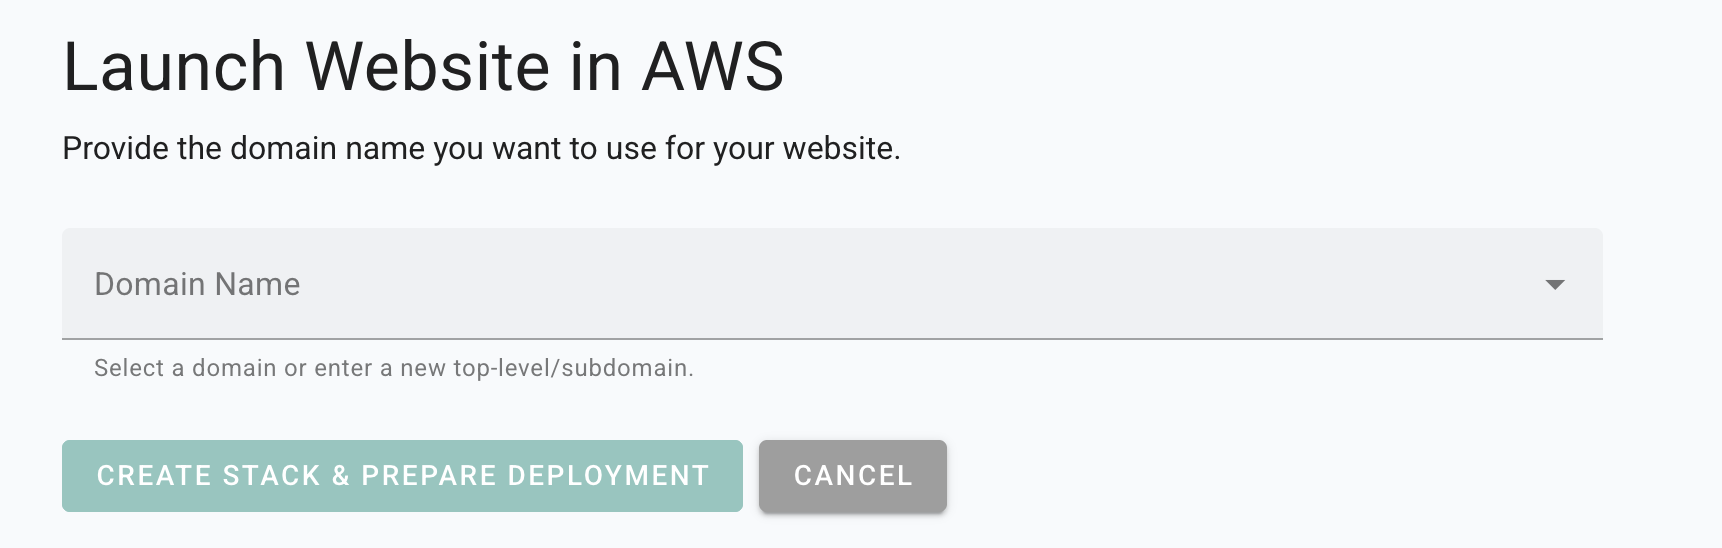
Deploy
Staticbot will provision the Stack you created, first creating or updating the necessary infrastructure and then rolling out your website on top of it.
4Visit Your Web App
Deployment Complete
Staticbot will provide a live URL. Your Lovable project is now live on AWS infrastructure!
No Vendor Lock-in
Staticbot is built on transparency. If you choose to deploy to your own AWS account, the complete Terraform code is placed in an S3 bucket in your account.
Migrating from Lovable Cloud?
If you started with Lovable Cloud and want to switch back to using your own Supabase backend for self-hosting, we have a guide for that.