
Deploy a Supabase Front-end with Staticbot
Staticbot hosts your Supabase-powered frontend on the right target for your project: Cloudflare Workers for full-stack apps (TanStack Start, Nuxt, SolidStart, Astro) or AWS S3 + CloudFront for static SPAs. Either way, your Supabase backend stays exactly where it is — and the env vars get wired automatically.
How Supabase Integration Works
Staticbot simplifies managing your Supabase environment variables. It automatically detects Supabase keys in your project and allows you to securely manage them through the dashboard.
1Prepare Your Supabase App
Ensure your front-end application contains a .env or .env.example file with your Supabase variables.
VITE_SUPABASE_URL=your-supabase-url
VITE_SUPABASE_ANON_KEY=your-supabase-anon-key
Staticbot detects variables containing SUPABASE_URL and SUPABASE_ANON_KEY (e.g. REACT_APP_... or NEXT_PUBLIC_...).
2Deploy with Staticbot
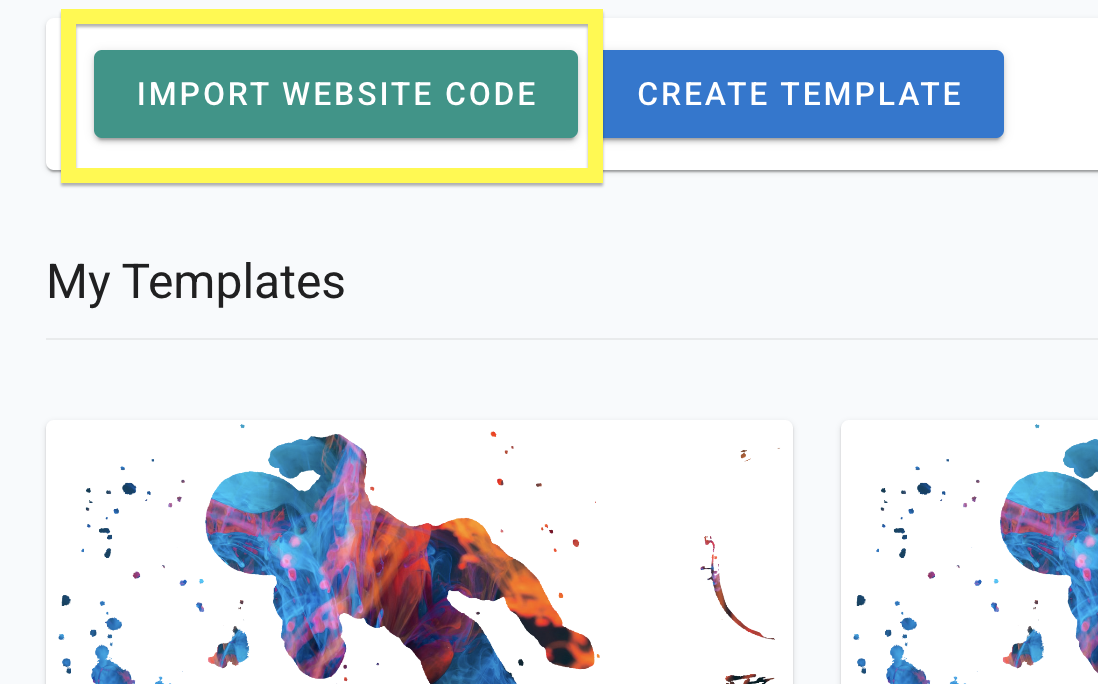
Import Your Project's Code
Paste your GitHub repo link. Staticbot creates a Template from your codebase, picks up your Supabase env vars, and figures out the ideal deploy target while it's at it.
What gets detected automatically
- Supabase env vars —
SUPABASE_URL,SUPABASE_ANON_KEYand theirVITE_/NEXT_PUBLIC_variants are picked up from your repo so you can manage them in the dashboard. - Project type → deploy target — Staticbot looks at your build to decide:
- • Full-stack / SSR (TanStack Start, Nuxt, SolidStart, Astro with CF adapter, Hono) → lands on Cloudflare Workers, talks to your Supabase from the server runtime.
- • Static / SPA (classic Vite + React, JAMstack, plain HTML) → lands on AWS S3 + CloudFront, talks to your Supabase from the browser via the anon key.
Both setups support the same Supabase backend — only the hosting layer differs. You can override the suggestion if you'd rather pick the target yourself.
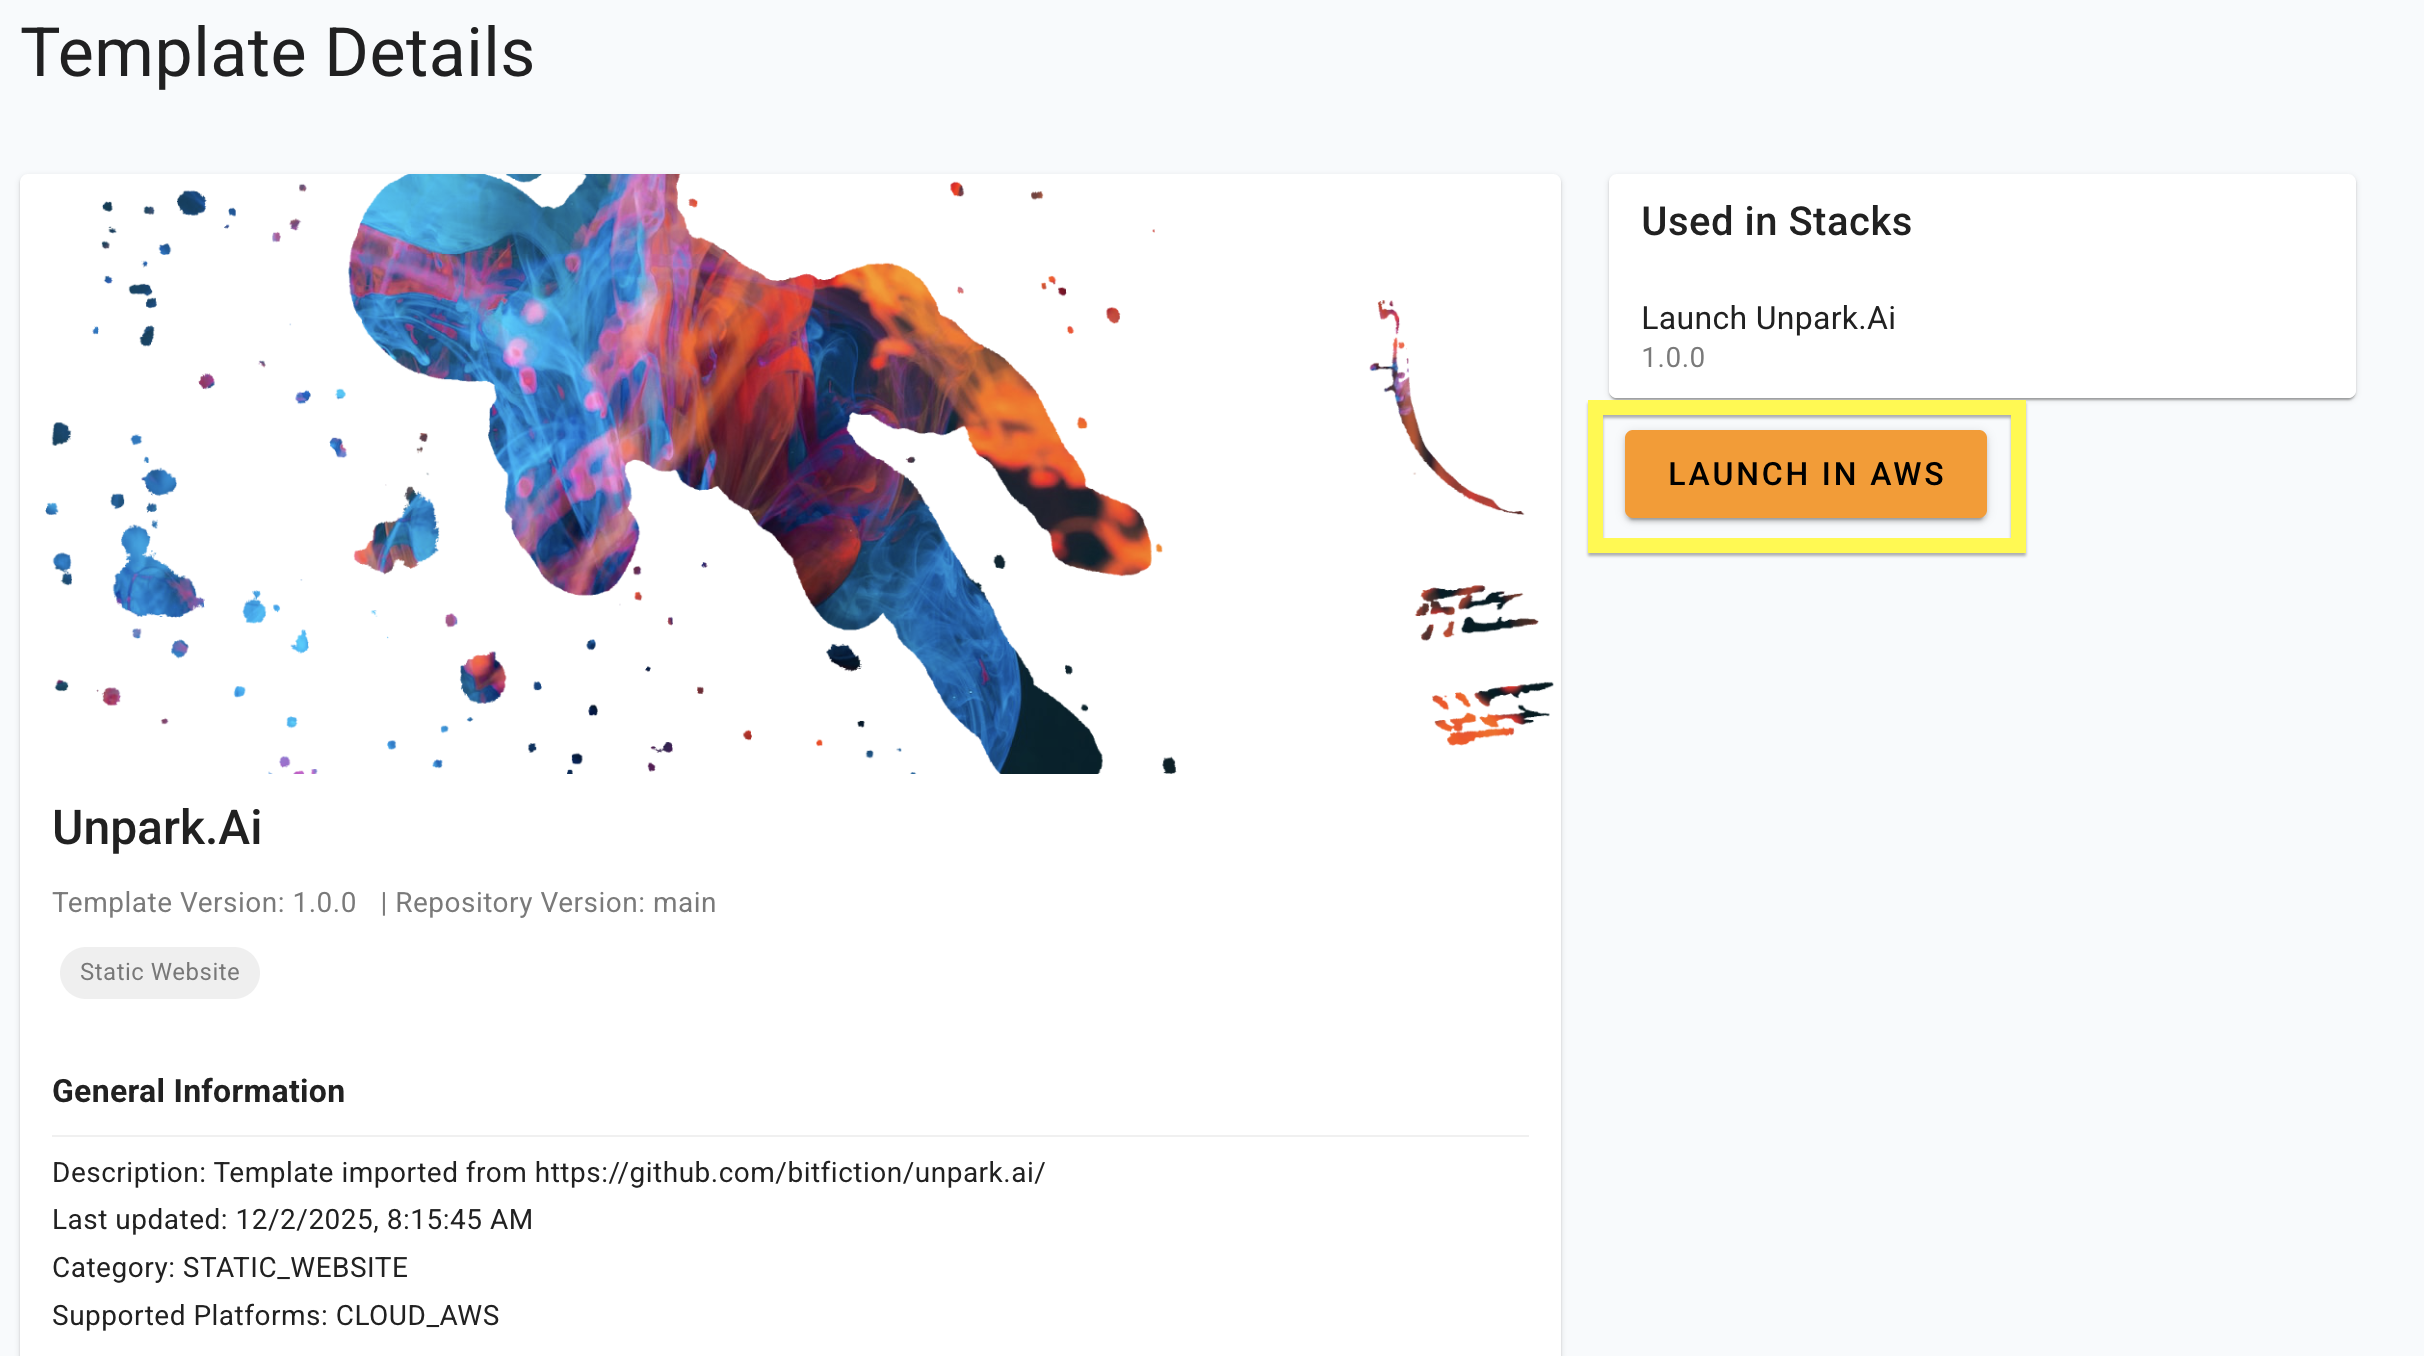
Launch — AWS or Cloudflare, depending on your project
Staticbot auto-detects what kind of project you have and shows the right launch button:
Classic Vite + React, plain HTML, or any pre-built static bundle. Deploys to AWS S3 + CloudFront — your AWS account or Staticbot-managed.
TanStack Start (Lovable's new default), Nuxt 3, SolidStart, Astro with the CF adapter, or any app that builds for Cloudflare Workers. Deploys to a Staticbot-managed Cloudflare account. read more
The screenshot below shows the older "Launch in AWS" button. The dashboard now picks the right target for you — newer screenshots coming.
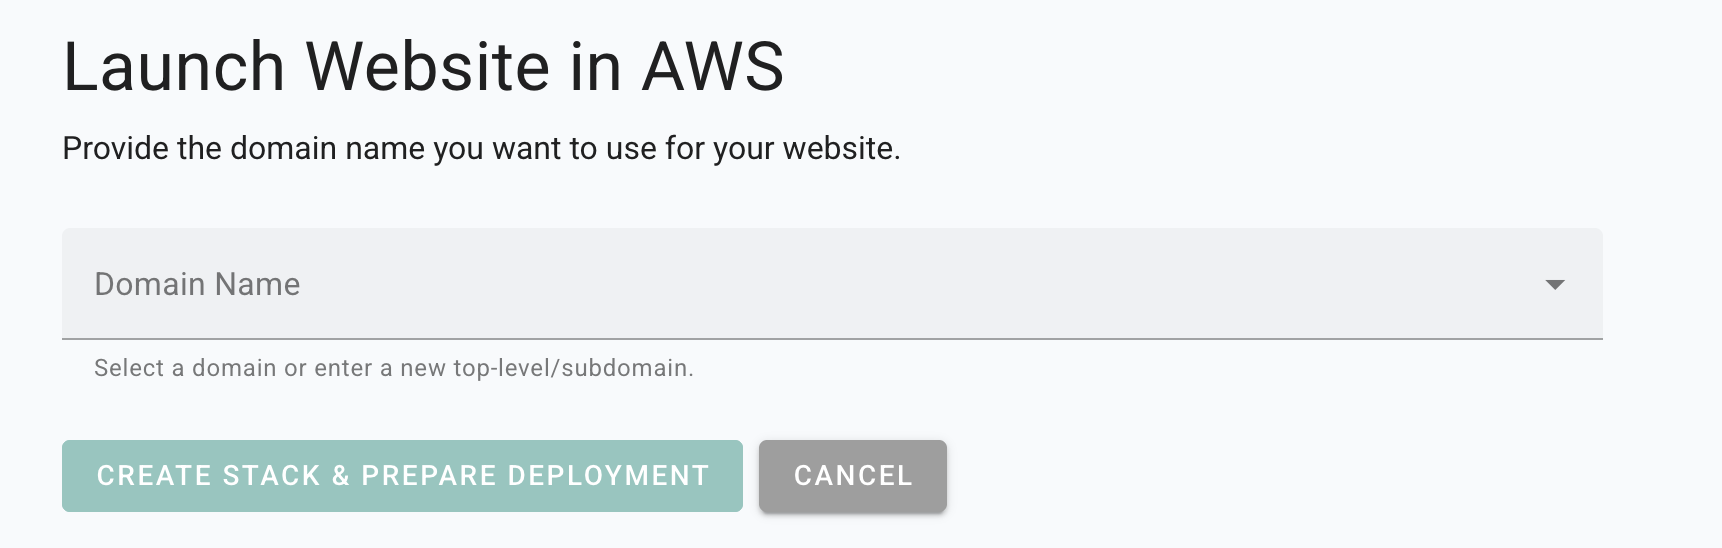
Enter the Domain
Staticbot will provide instructions to point the domain to your website.
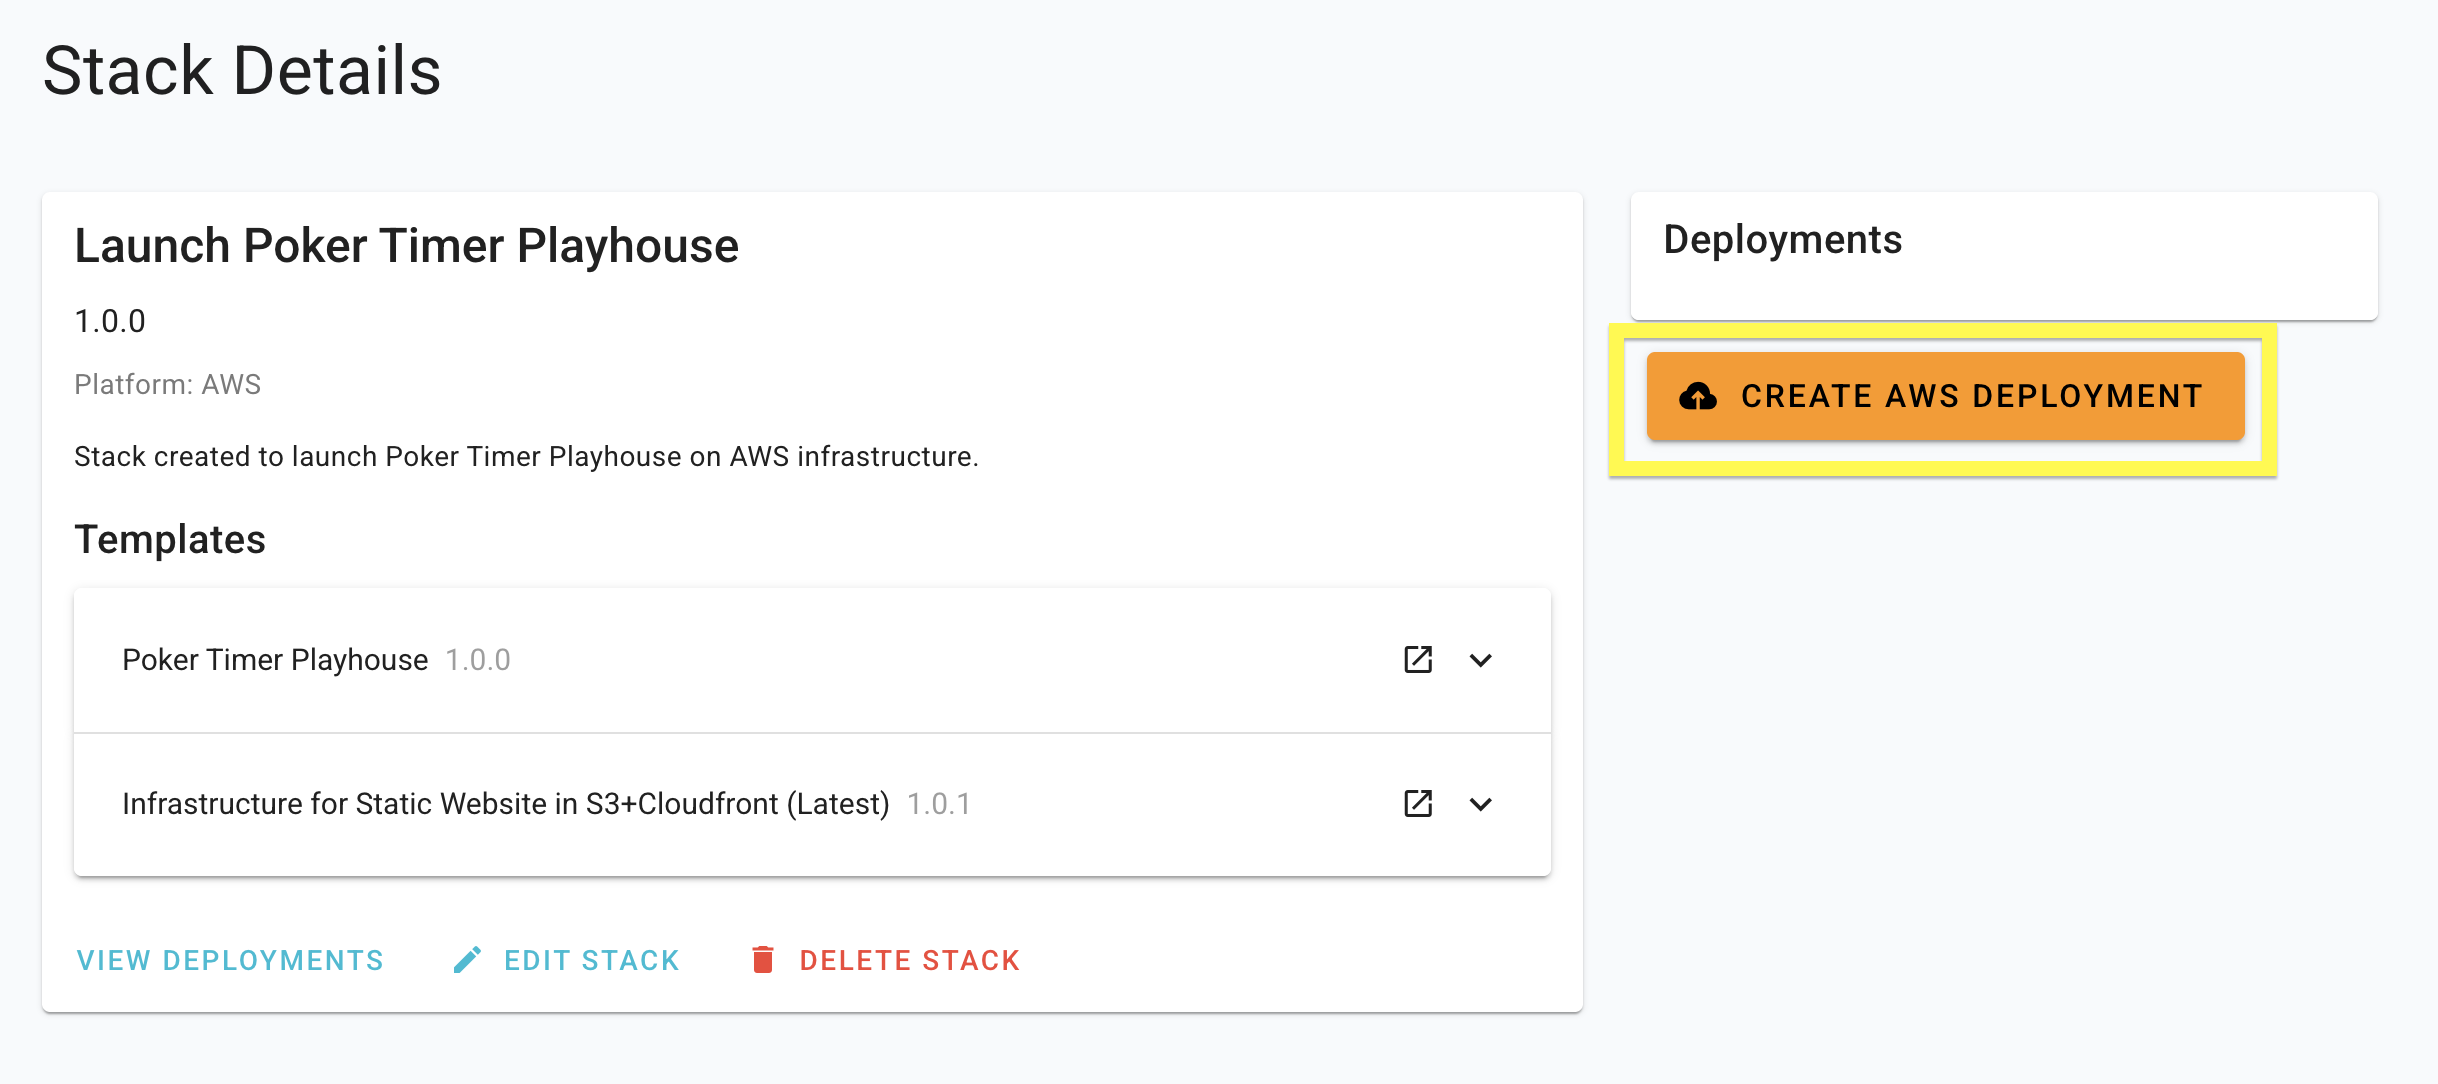
Deploy
Staticbot will provision the Stack you created, first creating or updating the necessary infrastructure and then rolling out your website on top of it.
RLS Policies and Security
Currently, Staticbot's integration is designed for anonymous Supabase keys, which work with your database's Row Level Security (RLS) policies. Support for Service Role keys is coming soon.
3Visit Your Live App
Deployment Complete
Your front-end is now hosted on high-performance infrastructure and connected to your Supabase backend.
No Vendor Lock-in
Staticbot is built on transparency. If you choose to deploy to your own AWS account, the complete Terraform code is placed in an S3 bucket in your account.